Using Vendor Access
Introduction
Vendor Access, also known as access.work (https://access.work), is a feature of Secure Remote Access that allows users to connect to devices through their browsers without needing access to the Admin By Request Portal.
Quick setup
To quickly start using access.work, do the following:
-
If you haven't already, enable Unattended Access and choose either a manged service or a self-hosted implementation (managed service is a quicker setup).
-
Make sure users that will sign-in with access.work are configured in the portal for SSO (.Logins > Single Sign-on Setup).
-
Head to access.work in your browser and sign in with SSO.
In more detail
These steps provide more information about analyzing your inventory computers, configuring remote access gateways and setting-up your users with the correct access:
-
Log in to the Admin Portal at https://www.adminbyrequest.com/Login and check your computer inventory.
-
Check your remote access gateways at Secure Remote Access > Settings > Unattended Access Settings > Gateways > CLOUD, including the computers that are accessible through them. You should be able to correlate computers in the inventory with computers you want accessible via remote access.
-
Go to Logins > User Logins and check that you have setup user logins correctly (i.e. with the appropriate access and via the appropriate gateway). Use the Preview link alongside a user in the list of users to make sure each can access only the computers expected.
NOTEThe Preview link appears only if a scope is created for the user (SCOPE tab). If no scope is created, the user will have access to all computers controlled by the gateway.
-
As a test user, go to access.work in a browser and log in using one of the SSO options:
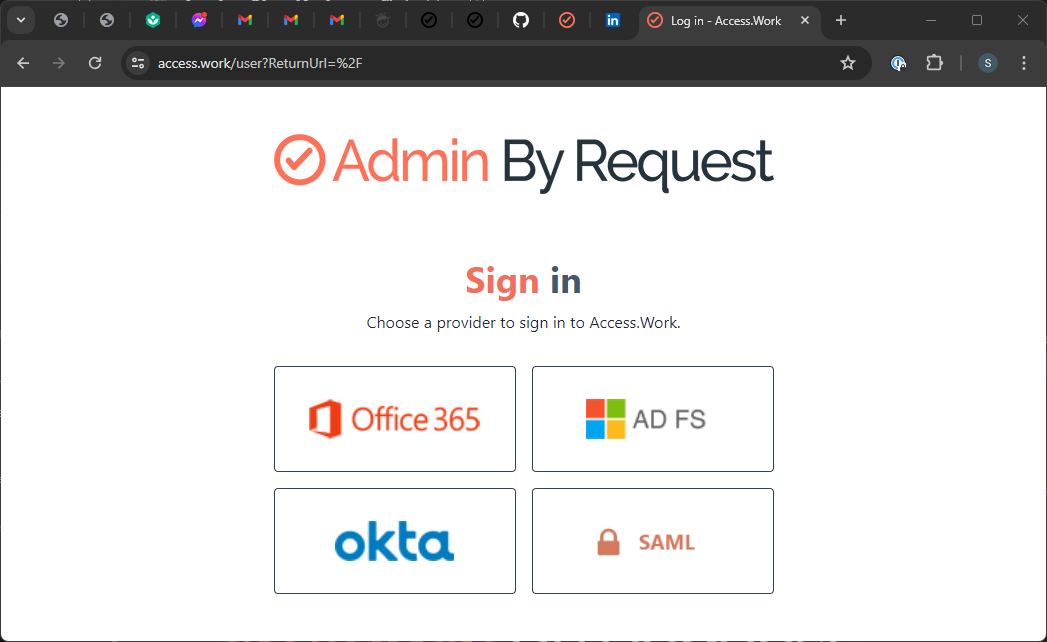
-
Once logged-in, verify the available computers - these should match what you expect from step 3. If not, recheck the settings under Logins > User Logins, EDIT user, SCOPE tab, Network Scope.
Don't forget to Save if making changes.
-
In the browser, refresh the list of remote computers and verify you can see the computers you expect to see.
-
Connect to a remote computer using the Connect button:
-
If a key icon is visible, credentials are required to log in.
-
A locked icon indicates that your request to access the computer remotely must be approved first.
-
An unlocked icon indicates access is pre-approved and no reason is required to connect and log in.
Notifications and data input are handled entirely within the browser, although users might also receive notifications via their email clients if running.
Admins can approve requests for remote access in the same way they do for other requests - if using the portal, the requests appear under the Requests menu (PENDING tab).
-
-
In the portal, use the Auditlog to check activity during a remote access session.
If the Recording option is on (Secure Remote Access > Settings > Unattended Access Settings, RECORDING tab), you can replay a video of all actions taken by the user during the session
In the Auditlog, locate and expand the relevant session, so you can request and view the session video.
Watch a demo
Here is a 3-minute overview of access.work:
Questions?
If you have any questions, don't hesitate to contact us or raise a support ticket (paid plans only - support tickets are generally not available under the free plan).