Integration Tasks
Introduction
The following tasks are covered in this section:
B. Ensure the App has required permissions
A. Upload the App File
The app used in this integration comes preconfigured as a zip file that is ready to ‘plug-in-and-go’ (this is the same file linked to in Prerequisites).
If you haven't already, download teams.zip:

Refer to Teams App Zip File for the contents of this file.
This task describes two options for uploading the zip file to Teams:
 Option 1 - Upload via the Teams Admin Center console
-
In the Teams Admin Center, navigate to Teams apps > Manage apps.
-
On the newly opened page, click the Actions drop-down menu in the top-right corner and click the Upload option.
-
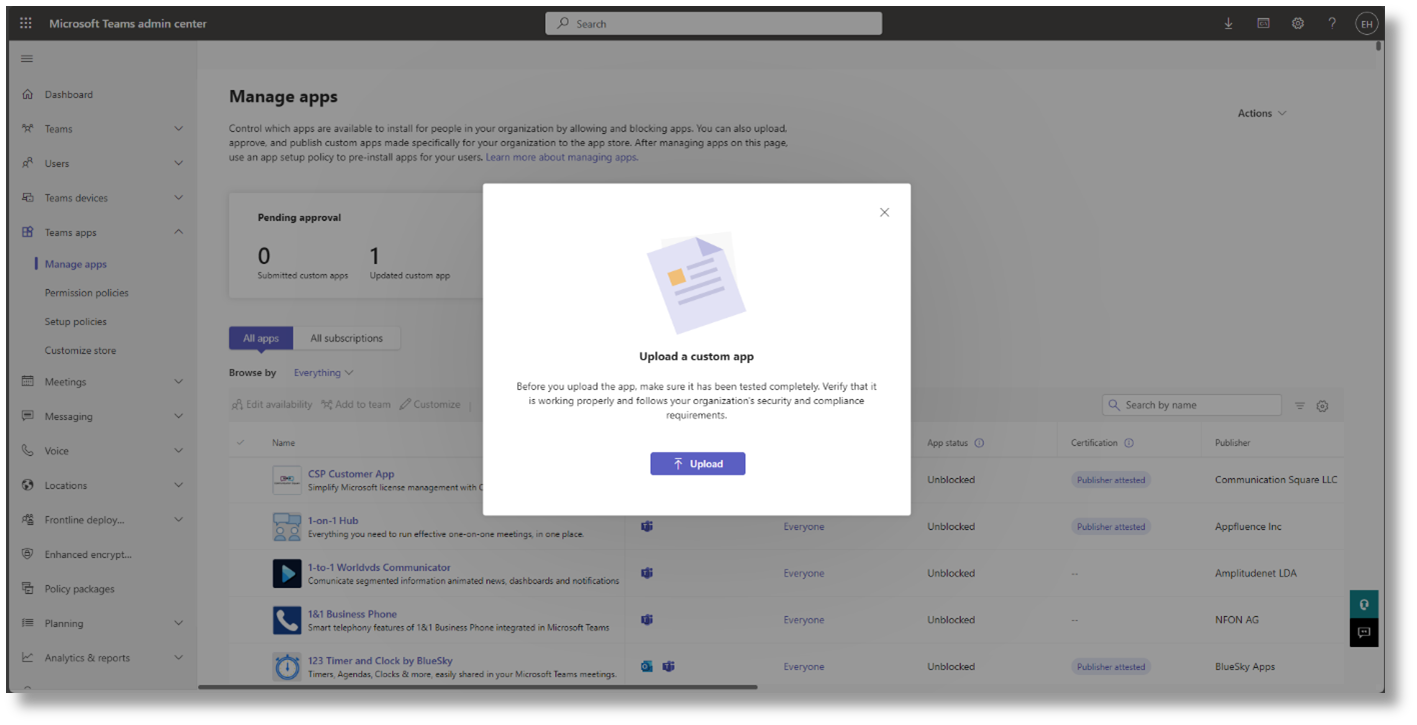
Finally, click the Upload button available in the pop-up window and navigate to wherever you saved the teams.zip file:
Option 2 - Upload from inside the Teams application
-
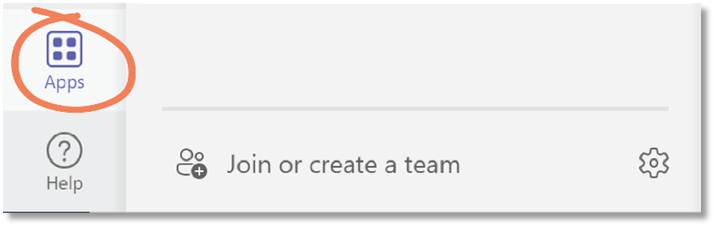
From within the regular Teams application, select Apps from the bottom left-hand corner:
-
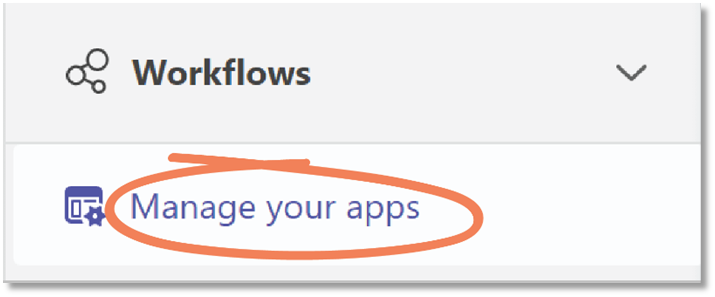
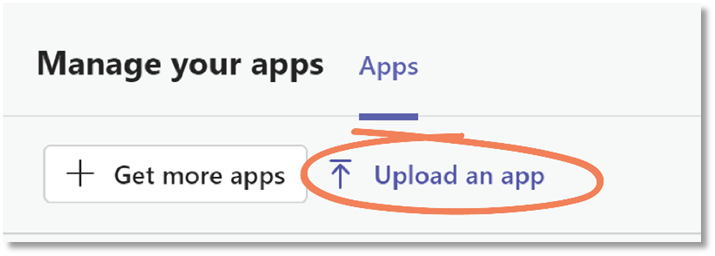
From the bottom left-hand menu, select Manage your apps:
-
From the top menu, select Upload an app:
-
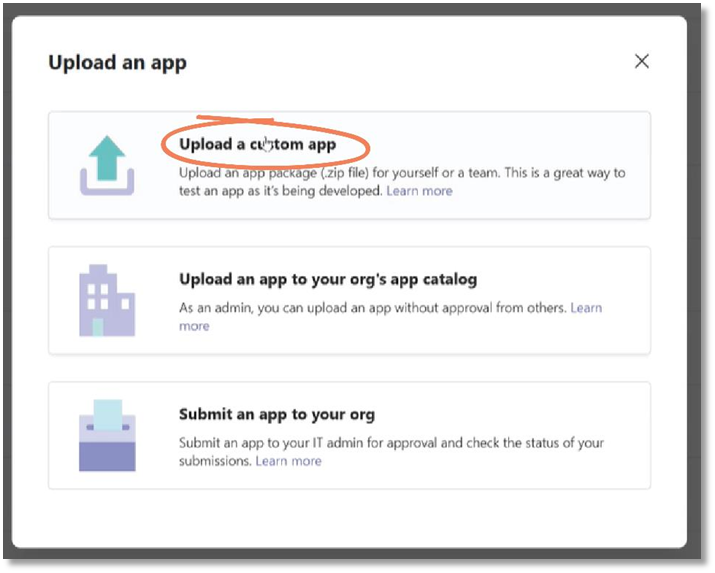
Select the Upload a custom app option:
-
Locate and select the teams.zip file downloaded in Prerequisites.
B. Ensure the App has required permissions
This task ensures the integration has the necessary rights to function correctly.
-
On the Manage apps page, find and double-click the uploaded Admin By Request – Requests application:
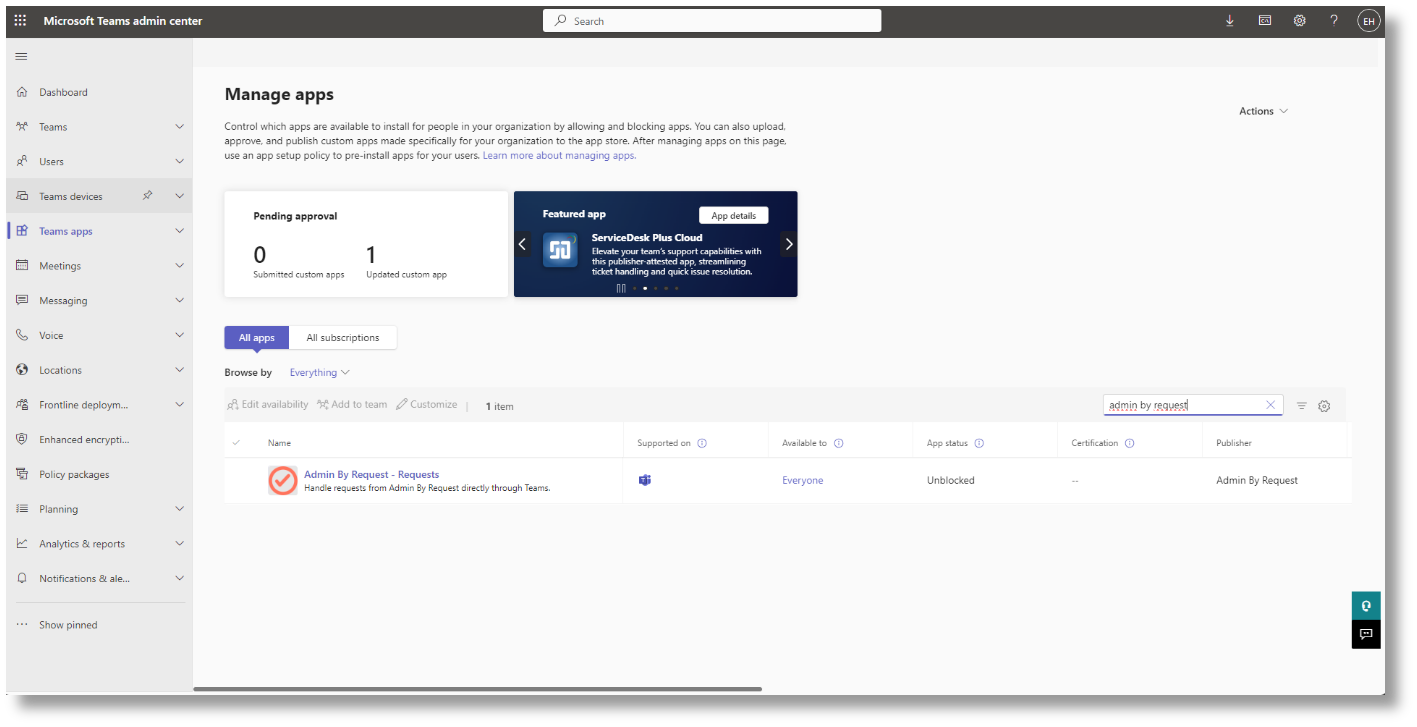
If necessary, use the search function located to the right to easily find the application.
-
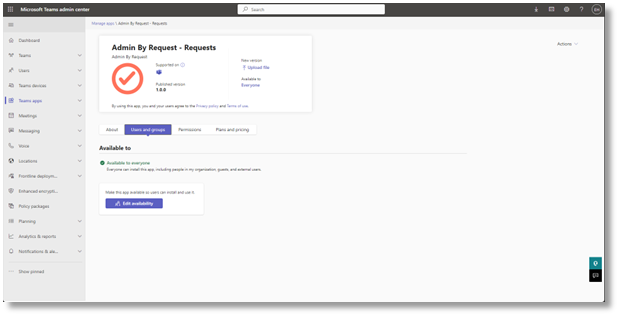
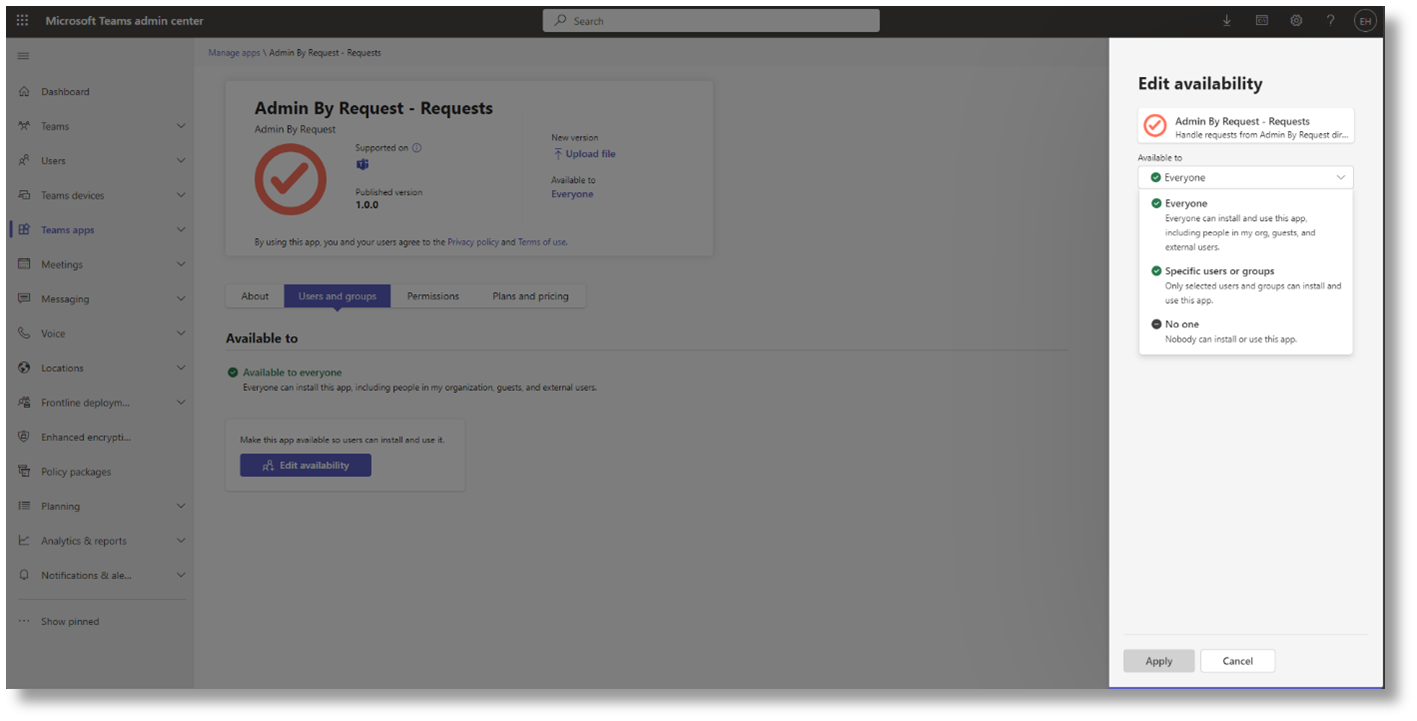
On the newly opened page, switch the tab to Users and groups. The Available to status should either indicate it’s available to everyone or specific users and/or user groups:
-
Click the Edit Availability option if you wish to change the availability status of the application. If the button is greyed-out, ensure the account you’re using has administrative privileges in the Teams Admin Center:
-
Finally, click Apply once you have configured the availability status.
When configuring the Specific users or groups option, you may experience applicable users and/or user groups being unable to use the application straight away. It may take some time for the configuration to be fully applied to your Teams Admin Center.
Please reach out to Admin By Request Support if the setting hasn’t gone through after 24 hours of waiting.
C. Create a Team
The Admin By Request integration requires a dedicated Admin By Request Team for requests to be sent to, and managed from.
-
In Microsoft Teams, select Join or create a team from the bottom of the left-hand menu:

-
Click the Create team button in the Create a team option.
-
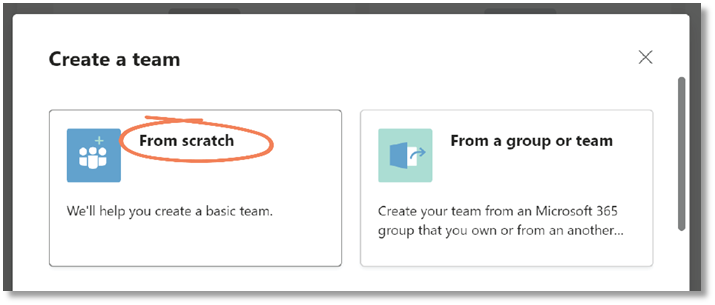
In the Create a team pop-up window, click From scratch:
-
In the What kind of team will this be? window, select Private.
Choosing Private means users need permission from you to join the team. If you do not select Private for this team, anyone in your organization can join the channel and will have the ability to approve or deny Requests. -
In the next window, give your new team a Team name (and optional Description):
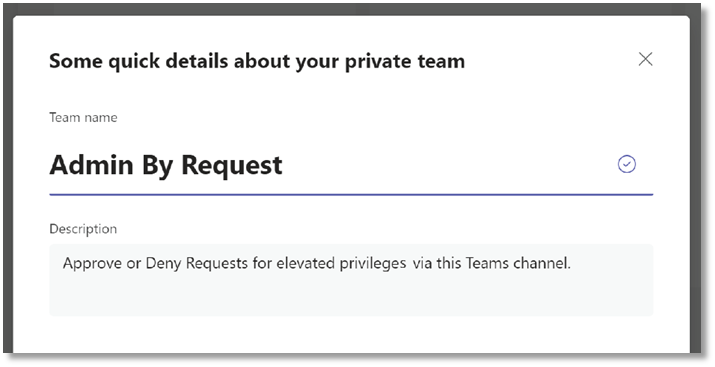
In this example, our Team channel is named Admin By Request and our description reads, Approve or Deny Requests for elevated privileges via this Teams channel.
-
Click Create.
-
Skip adding members for now.
Remember that this integration overrides portal settings, so all users with access to the Teams channel created above will have the ability to approve or deny requests via Teams, regardless of whether they have been granted these abilities in your portal sub-settings.
D. Submit API Key
An API Key must be created for use with Teams..
-
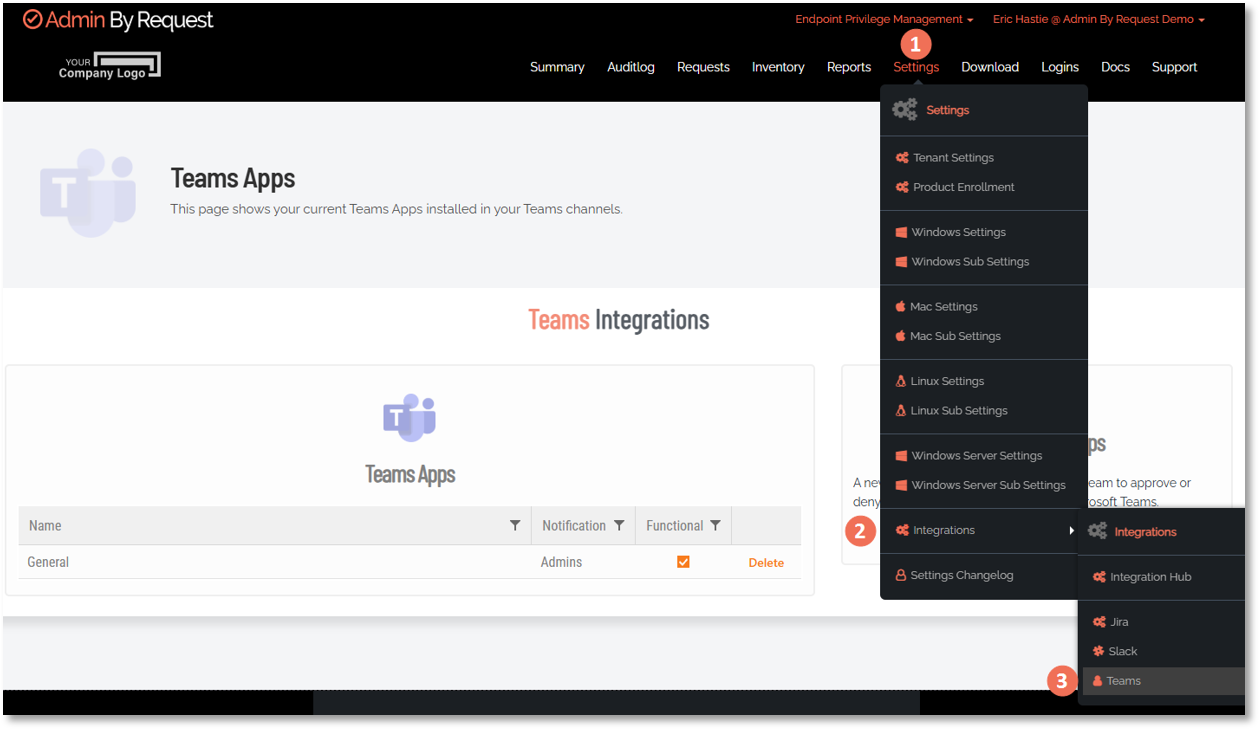
In your Admin By Request portal, navigate to Settings > Tenant Settings > Data > API KEYS and click the Add New button:
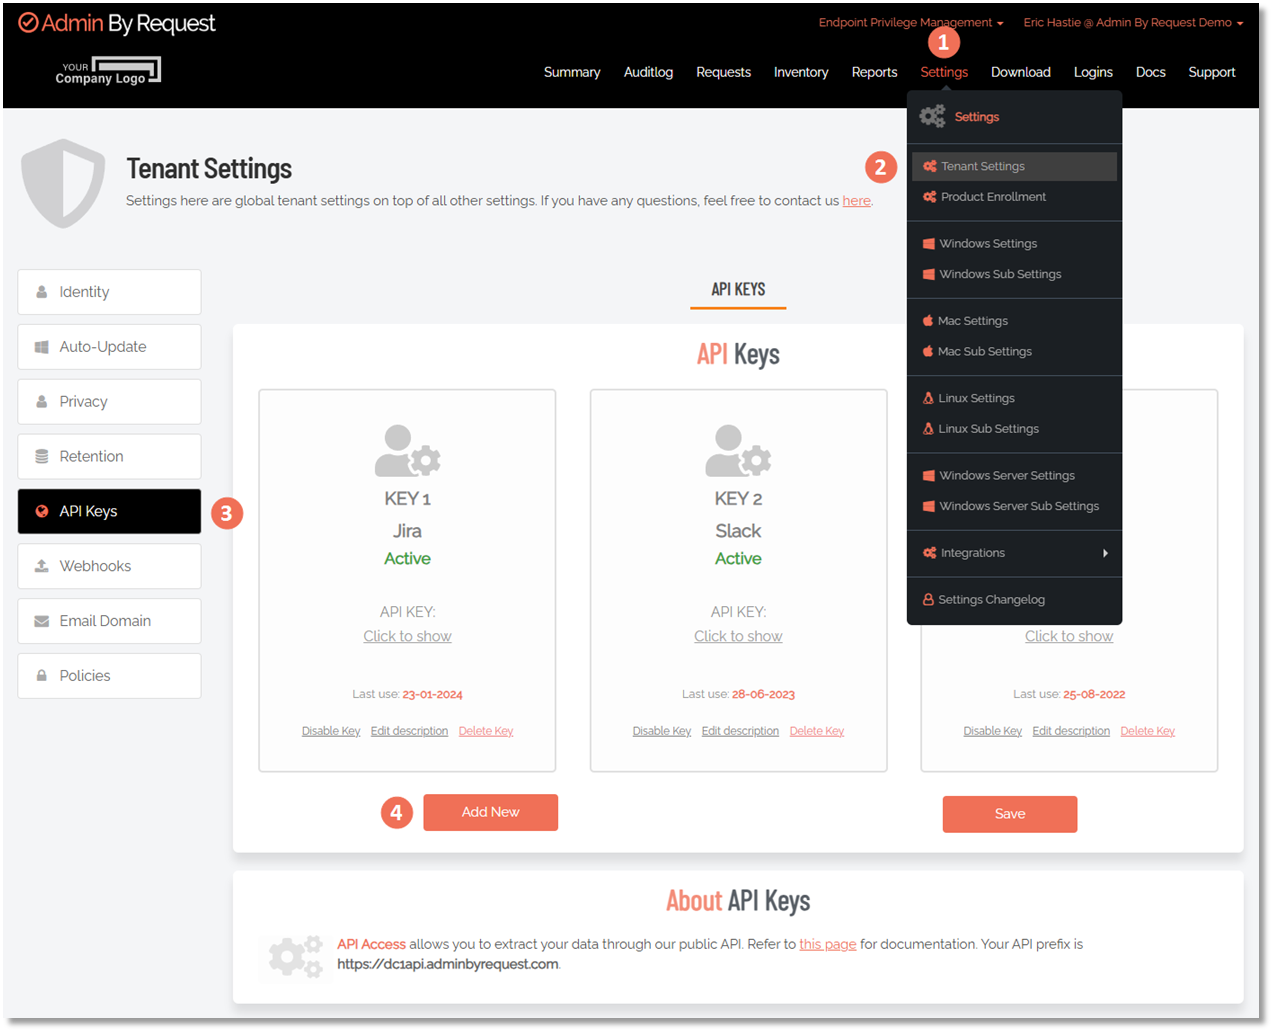 Your API prefix (i.e. data center) is shown at the bottom of this page, under About API Keys.
 -
Click the Edit Description button, type Teams (or similar descriptive name) as the description, and click the Save icon:
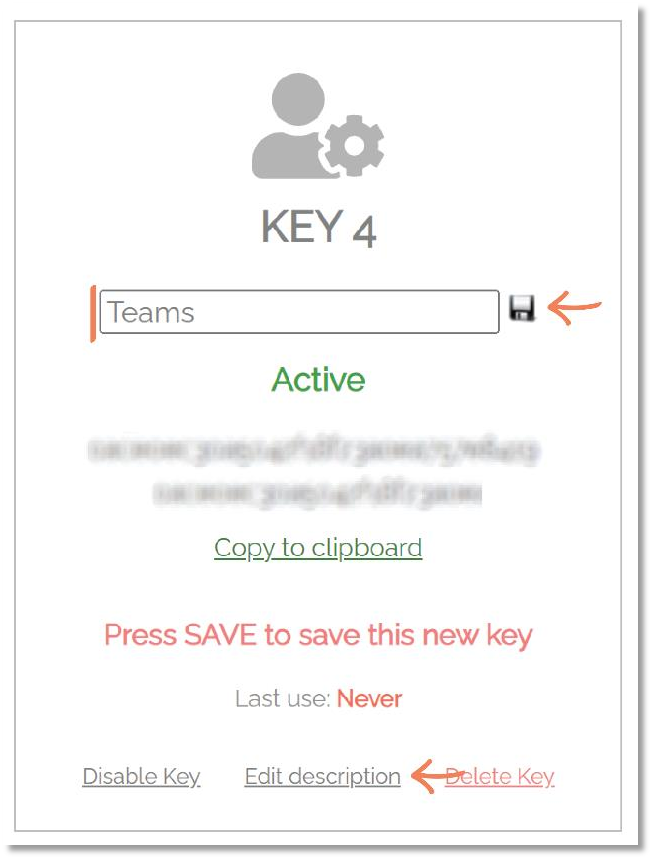 IMPORTANT
After adding a new API Key you must then ensure you click the general Save button (i.e., outside of the individual API Key):

-
For the new API Key just created, select Click to show, and then Copy to clipboard.
-
Navigate back to Teams and paste the copied API Key into the API Key field in the Teams channel:
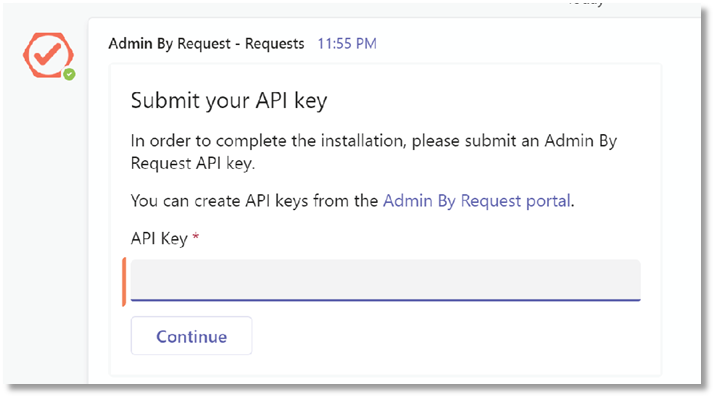 IMPORTANT
If the integration prompt does not initially request an API key as in the above picture, please ensure that the required permissions are provided. Refer to B. Ensure the App has required permissions for instructions.
-
Click Continue.
-
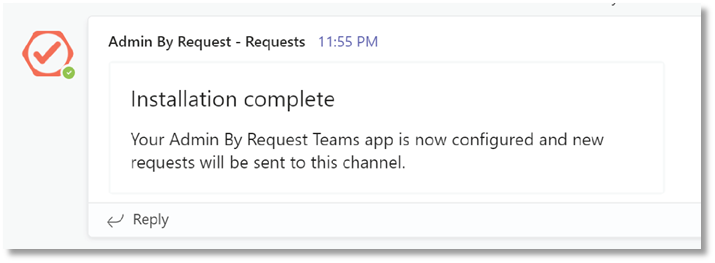
When the connection is complete, a success message is displayed:
E. Manage Requests
This task demonstrates how to use the new Teams channel to approve or deny Requests made by your users.
-
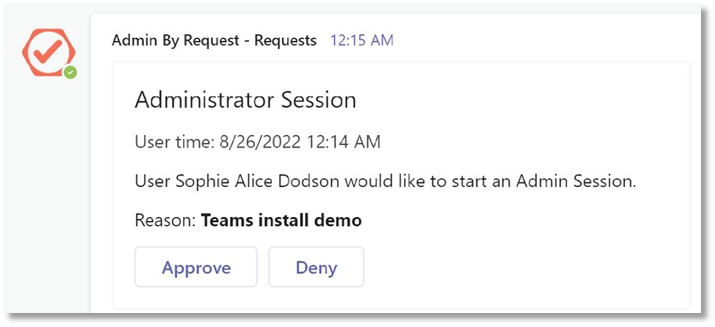
New / Pending requests now appear in Teams, in our newly created channel displaying the time the request was made, the name of the user, and the reason provided for making the Request (if the Reason feature is enabled in your ABR settings):
-
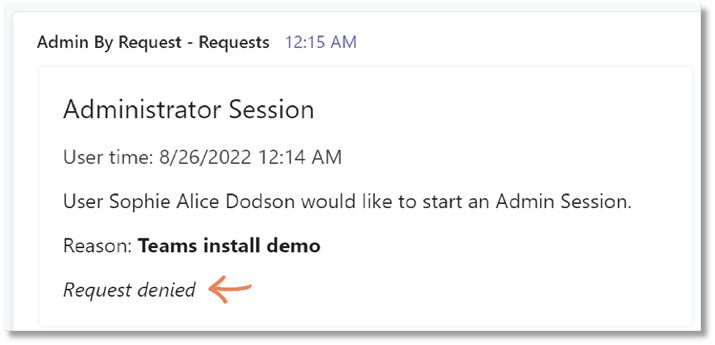
Click Approve or Deny – the same way you would in the Requests page of your Admin By Request portal.
The response chosen is reflected in the channel:
Your IT staff can now use Teams for more than just communication; they can approve or deny requests for administrative access via a dedicated Teams channel.