Events Data
Introduction
The following tasks are covered in this section:
As mentioned in the Overview (under Something Missing?), due to regular Sentinel updates by Microsoft, some screens may look slightly different from those depicted in
A. Set up Azure Logic App
-
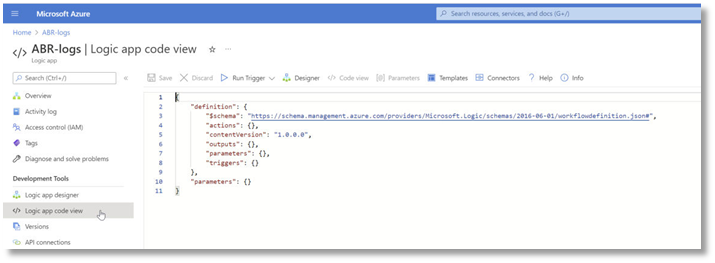
In order to get started, first set up an Azure Logic App within Azure Portal. You can choose to either setup the app from scratch, or you can choose to use the Admin By Request template. If you choose to use the Admin By Request template, jump into the Code View of your Logic App and paste in this logic app code (refer to JSON Code – Events Data for a full code listing):
-
Now that we have the structure for the Logic App, navigate to the Logic App Designer to view the different steps.
The app flow has nine segments arranged as follows:

B. Enter Parameters
-
The app has two configurable parameters. Replace these with your own API-key and the name you’d like for the custom log in your Log Analytics Workspace. This is similar to the earlier task Auditlog Data
C. Understand the App Flow
The flow of the app is simple – let’s go through the different bits:
-
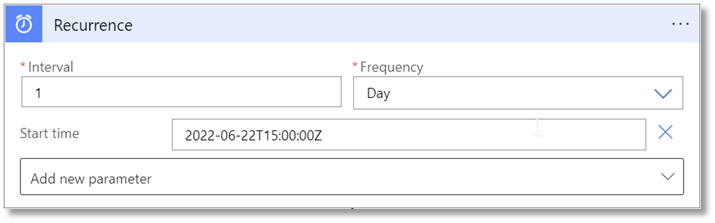
Recurrence tells the app when it should run. In our example we’ve set up a recurring trigger that runs once every day. You can replace this trigger with whatever works best for your setup:
-
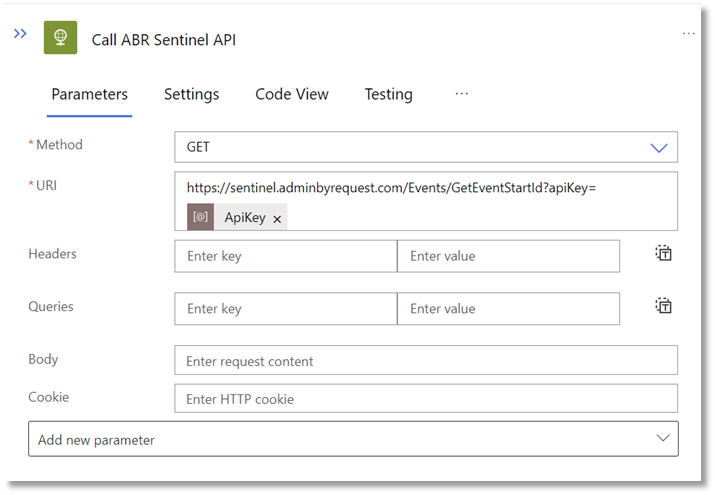
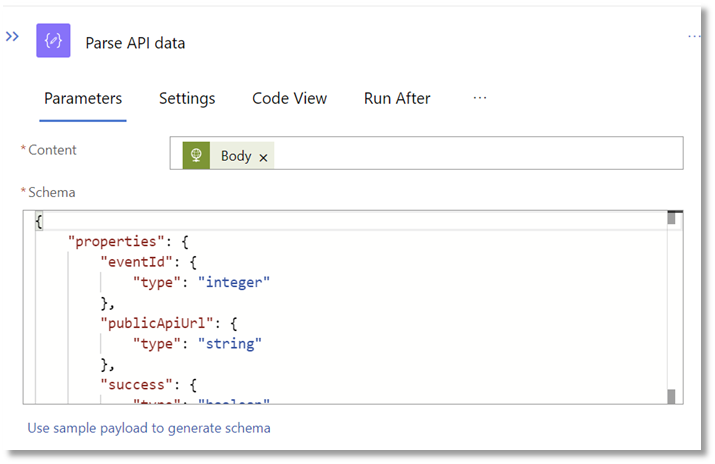
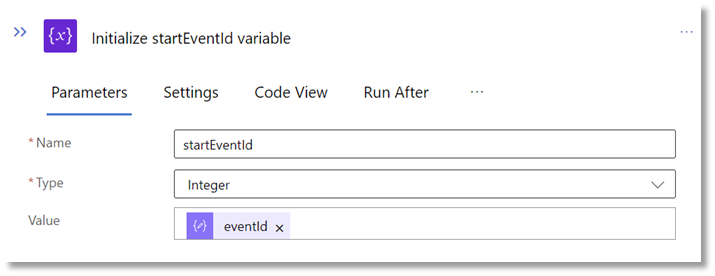
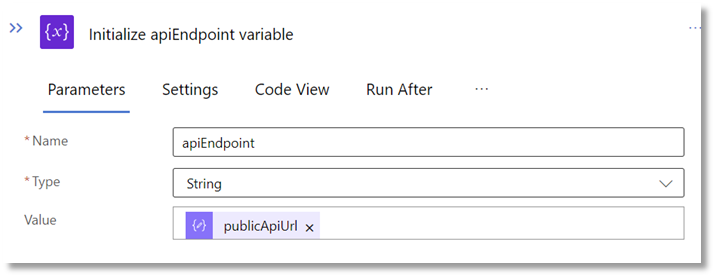
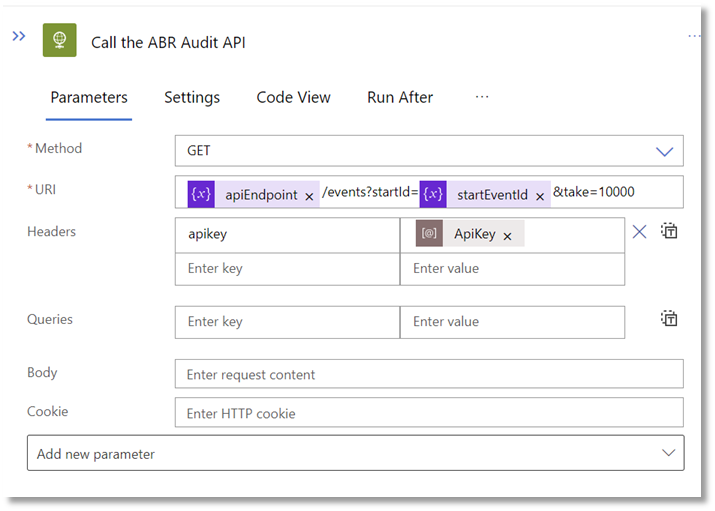
In order to call the Admin By Request Events API, we’ll need to fetch the EventID to serve as the starting point for the query. Furthermore, we need to determine which API endpoint to use.
This is done by calling the Admin By Request Sentinel API and storing this information (four screenshots in this step):
-
Once we have the startEventId and the apiEndpoint parameters in place, we can use these to call the Admin By Request Events API to fetch the events that have been created since the query last ran:
-
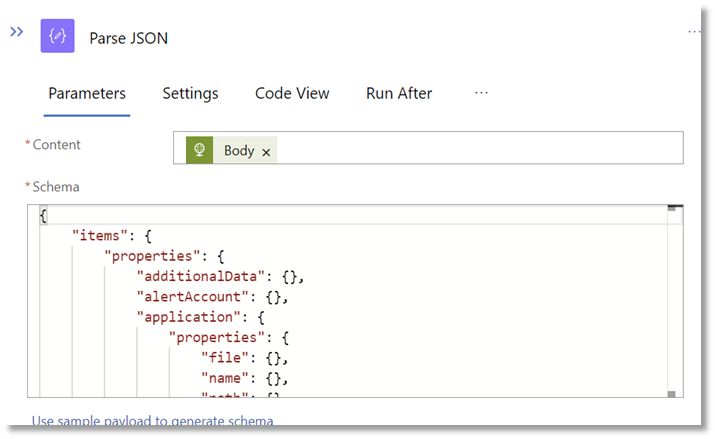
We can then parse the result of this API call to be used when looping through the data later on.
-
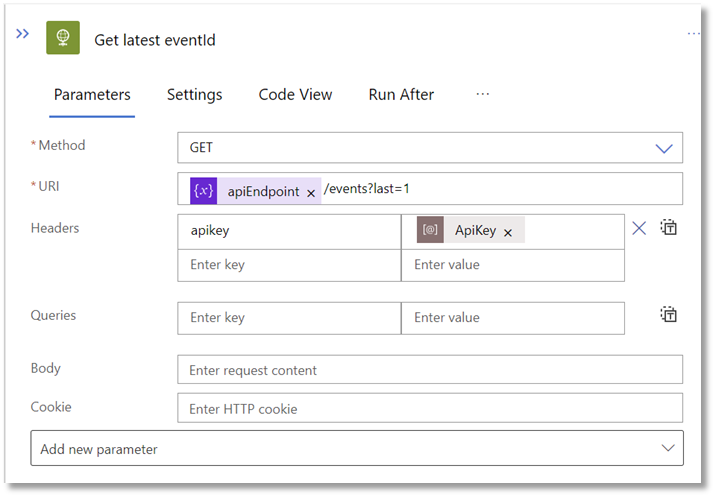
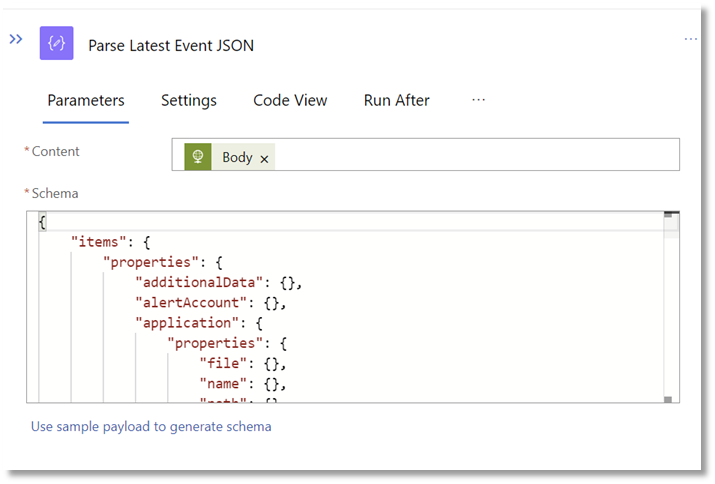
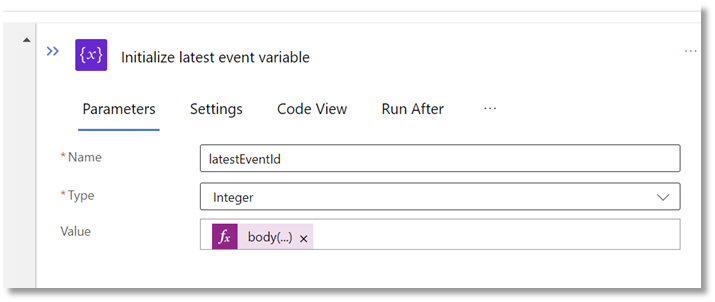
Because Logic Apps can’t hold state, we’ll need to save the latest EventID to the Admin By Request Sentinel API in order to have the starting point for the next time the Logic App runs (four screenshots in this step):

-
Next up we parse the response from the Events API as JSON using a schema based on the response type from the Events API (view this page for more information).
-
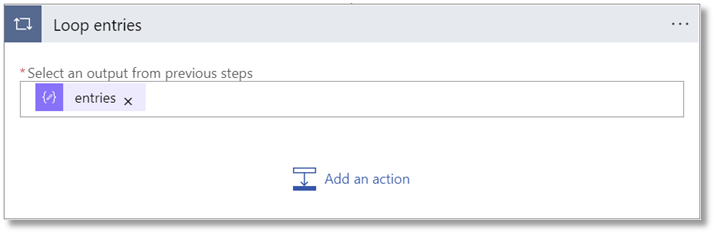
The last step simply loops through every entry from the Events call. Here you decide what to do with the data.
D. Configure Loop Entries
-
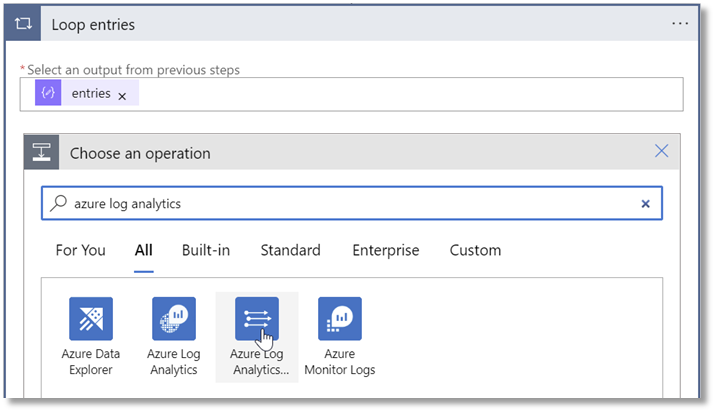
In order to send these to your Azure Log Analytics Workspace, do the following. Click on “Add an action” within the Loop entries action and search for “Azure Log Analytics”. Click the Azure Log Analytics result.
 As in Configure Loop Entries in chapter Auditlog Data, you may also need to configure a data collector:
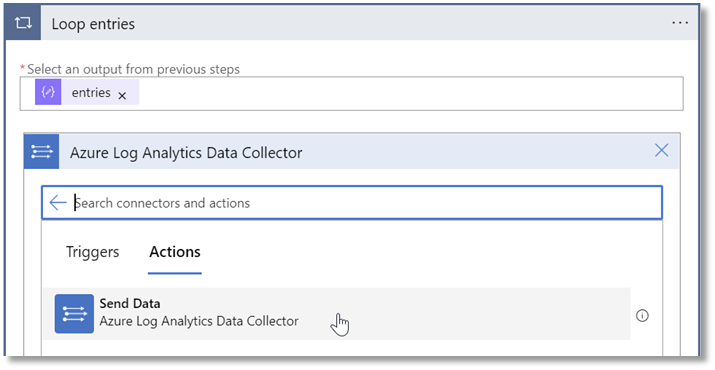
-
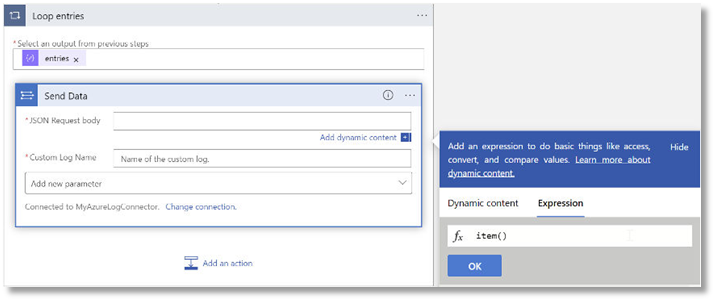
Select the ‘Send Data’ action
-
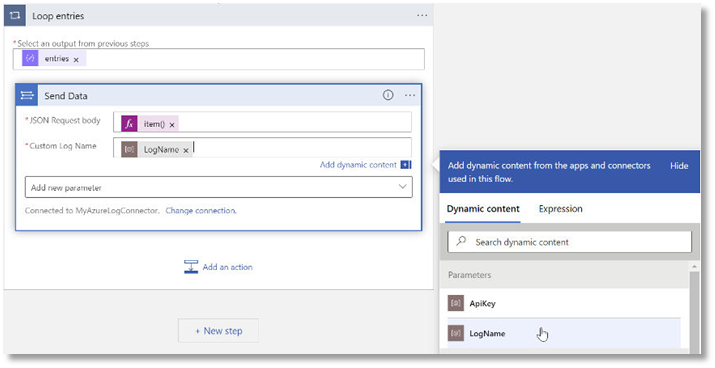
In the “JSON Request body”, select the "Dynamic content" tab and select Loop entries > Current item (similar to Configure Loop Entries (step 3) in chapter Auditlog Data). This selects the current item in the JSON loop and adds it as the request body.
-
For the Custom Log Name, select the “LogName” parameter. This tells the Logic App to send the audit entries to a custom log with the name supplied in the parameter.
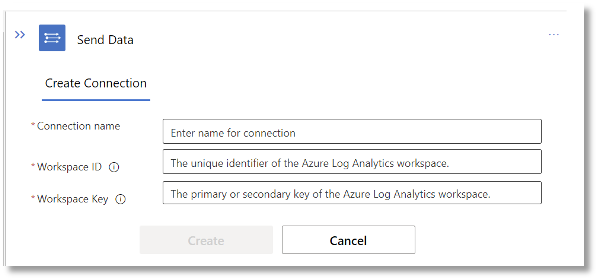
NOTEThe previous steps assume that you already have an API Connection for your Azure Log Analytics Workspace set up. If this is not the case, you’ll be met with the option to create a new connection:
-
Simply fill out the three fields and click “Create”.
E. Locate Workspace & Run App
-
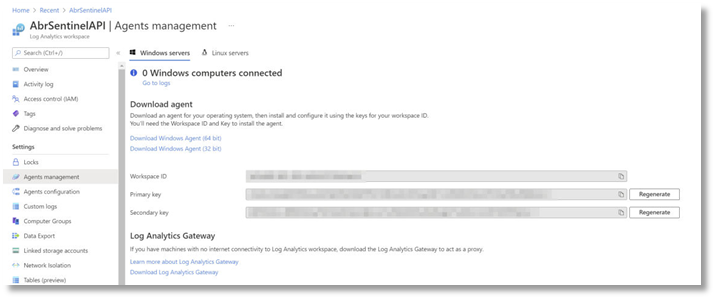
To find the Workspace ID and the Workspace Key, navigate to the Log Analytics workspace and select “Agents management”:
-
Copy the workspace ID and Primary Key and paste these into the connection properties in your Logic App.
-
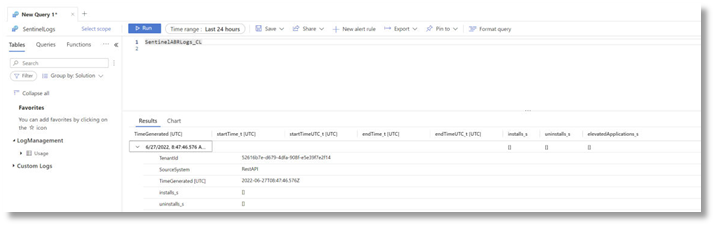
Now, save your app – and you’re done. If you run the app now, you’ll see your new entries showing up in your Log Analytics Workspace: