Auditlog Data
Introduction
The following tasks are covered in this section:
A. Set up Log Analytics Workspace
As mentioned in the Overview (under Something Missing?), due to regular Sentinel updates by Microsoft, some screens may look slightly different from those depicted in
A. Set up Log Analytics Workspace
A Log Analytics Workspace is the management unit which allows you to store, query, and retain data pulled in from other tools – in this case, Auditlog data pulled from your Admin By Request User Portal. Task A involves setting up this storage unit for use in subsequent tasks.
-
Log in to your Microsoft Azure Portal, and select Create a resource from the Home page or the side menu.
-
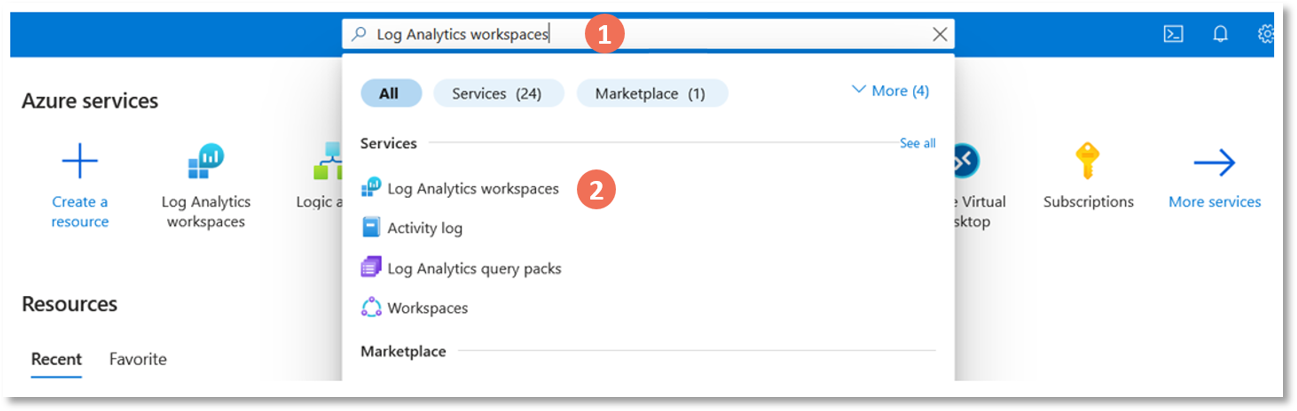
Use the search box to search for and select Log Analytics Workspaces from the Services list:
-
Click Create and fill out the Project details.
In the Instance Details section, give the workspace a Name and select the appropriate Region from the drop-down menu:
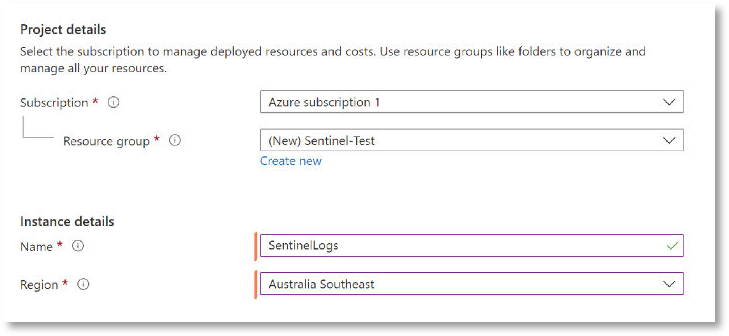 In the above screenshot, we have created a new Resource group called Sentinel-Test for the purpose of this demonstration.
 -
Click Review + Create at the bottom of the page.
-
When validation has passed, click Create, and wait for deployment to complete.
B. Create new Azure Logic App
An Azure Logic App is needed to consume the Admin By Request Auditlog API and forward each new entry to the Azure Log Analytics Workspace created in Task A.
-
Navigate to Resource groups and select the Resource Group used in Task A from the Recent list under Resources – in this example, Sentinel-Test:
-
Once in Sentinel-Test, click the Create button.
-
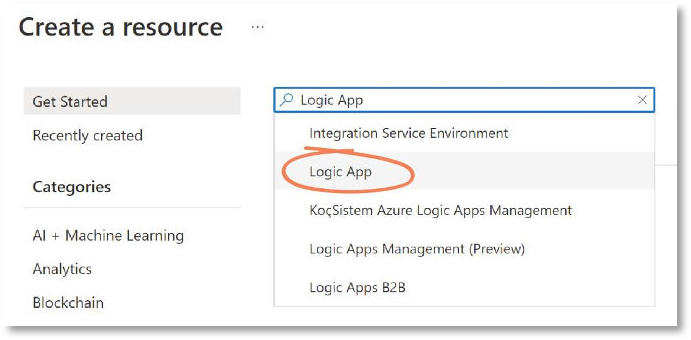
Use the Search box to search for and select Logic App from the drop-down menu:
-
Click Create.
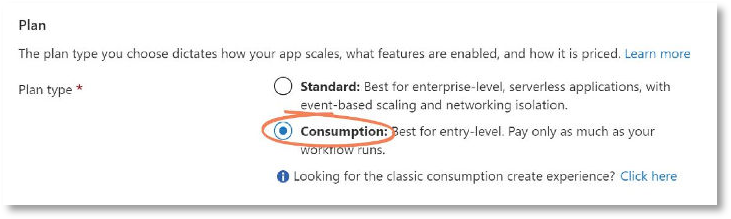
In the Plan section, select your Plan type. In this example, we use Consumption:
-
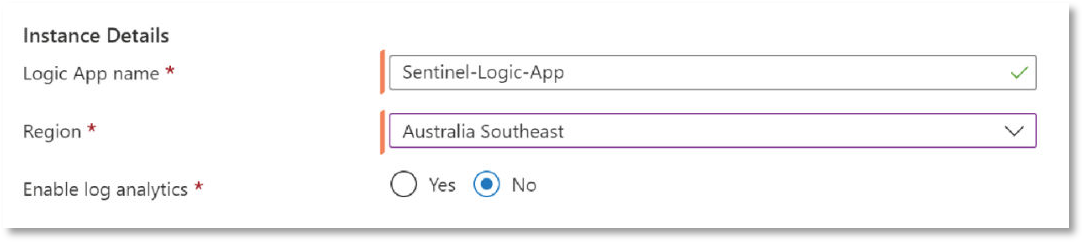
In the Instance Details section, enter a Logic App name (in this case, Sentinel-Logic-App) and select the appropriate Region:
-
Select the Review + Create button, followed by Create.
-
Once deployment is complete, click Go to resource.
C. Paste in JSON Code
To get the app behaving correctly for this integration, replace the default code in the Logic app code view with the JSON code we have written – access it here.
-
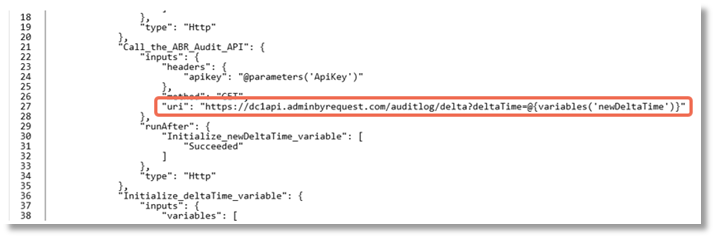
Confirm which data center you are connected to. This is important because the data center domain (also known as API prefix) is embedded during creation of the API key (see Prerequisites) and is also specified in the JSON code around line 27 and the two must match:
To determine the API prefix for your data center, go to page Settings > Tenant Settings > Data > API KEYS in the portal and check which API prefix is shown under About API Keys. The data center API URL (also known as the API prefix) will be one of the following:
-
https://dc1api.adminbyrequest.com (Europe - Netherlands)
-
https://dc2api.adminbyrequest.com (US East)
-
https://dc3api.adminbyrequest.com (UK)
-
https://dc4api.adminbyrequest.com (Europe - Germany)
-
https://dc5api.adminbyrequest.com (US West)
-
https://dc6api.adminbyrequest.com (Asia)
Make a note of your prefix - among other things, this is the domain used when an API Key is created.
You can also see your API prefix on the API web pages (e.g. Public API > Auditlog API). However, a small script runs in the background that determines to which data center you are attached, so JavaScript must be enabled in your browser for this to work.
If the data center is incorrect, you must edit the JSON code after copying and pasting it (step 4 in this procedure).
-
-
In the Logic Apps Designer page, select the app you created in Task B from the top menu (in this case, Sentinel-Logic-App):

-
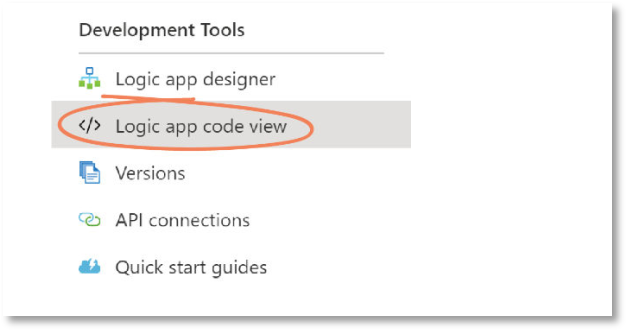
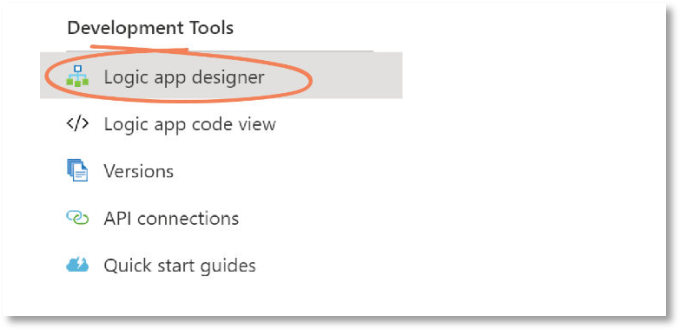
From the left-hand menu, under Development Tools, select Logic app code view:
-
Open the Admin By Request JSON code (found here) and select and copy all.
Navigate back to the Logic app code view in Azure, and replace the existing code with the code copied from the JSON file:
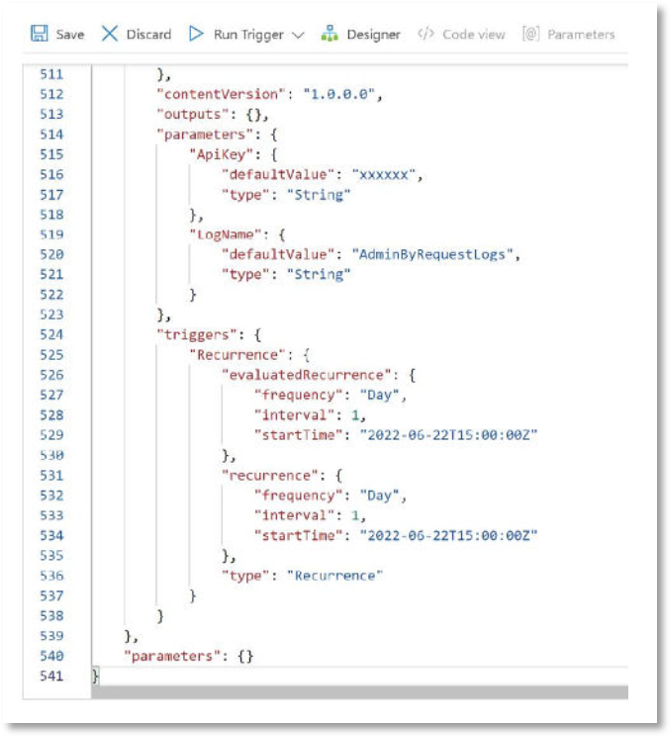 IMPORTANT
As mentioned in step 1, if you need to change the data center (~line 27), do so now.
-
Click Save.
D. Enter Parameters
The Admin By Request API Key (found in the Prerequisite section of this document) is used to establish a connection between the Azure Logic App and your Admin By Request User Portal.
-
From the left-hand menu, under Development Tools, select Logic app designer:
-
From the top menu, select Parameters:

-
The two parameters required for the integration are:
-
Apikey - String: The API Key obtained from your Admin By Request User Portal (see Prerequisites).
-
LogName - String: The name you would like for the custom log in your Log Analytics Workspace.
In the Default Value field for each of these parameters, replace the placeholder text with the appropriate / desired value:
 In the above screenshot, the API Key is blurred out, and we have used AdminByRequestLogs as the LogName.
 -
-
Click Save in the Logic app designer and close the Parameter window.
E. Understand the App Flow
In this Task, we take a look at what’s going on ‘behind the scenes’ – at API calls, variables, and loops involved in the preconfigured app flow.
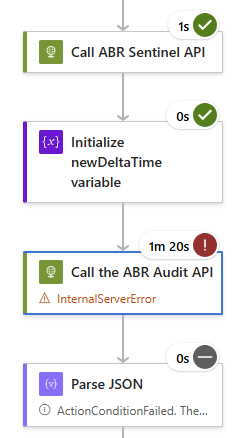
The app flow has nine segments arranged as follows:

-
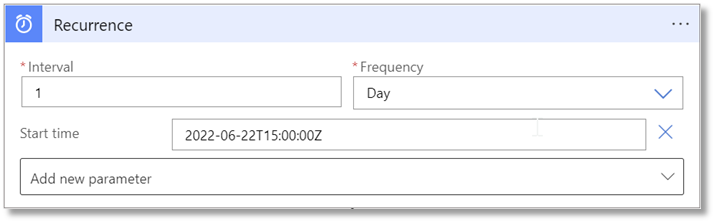
Recurrence – This tells the app when it should run. In our example we’ve set up a recurring trigger that runs once every day. You can replace this trigger with whatever works best for your setup.
-
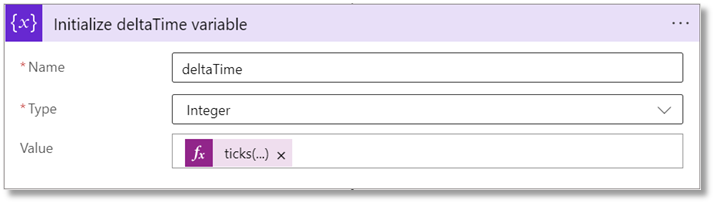
Initialize deltaTime variable – In order to call the Admin By Request Audit API, we need a variable containing the ‘from’ ticks. Basically, telling the Audit API to ‘give me all audit logs since this time’. This is defaulted to the number of ticks representing DateTime.Now.
-
Call ABR Sentinel API – Since Logic Apps don’t hold any state, we need some way of storing the last time the Audit API was called for a given API-key.
We’ve created an API endpoint that allows you to do just this. We simply call the SetDeltaTime endpoint with your API Key and the deltaTime variable, and the API returns that value for when the Audit endpoint was last called – and it stores the new value, so that the next time the Logic App runs, it has the correct tick-values to ensure that you don’t get any duplicate entries.

-
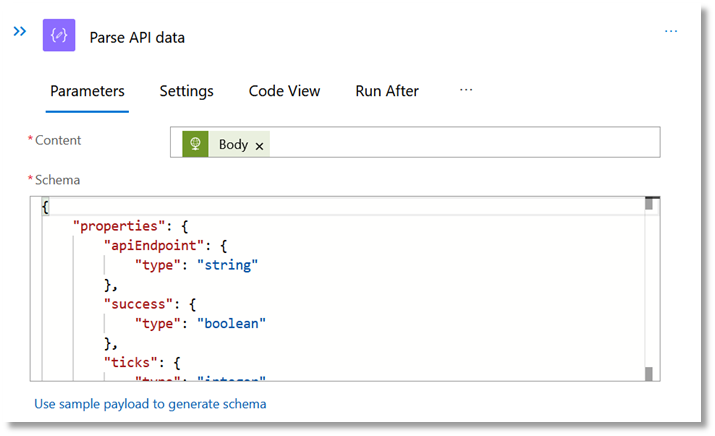
Parse API Data – The result from the API needs to be parsed in order to use the resulting variables.
-
Initialize newDeltaTime and apiEndpoint variable – With the values from the SetDeltaTime endpoint, we need to store two variables: newDeltaTime and apiEndpoint.
These variables hold the tick-value for when the Audit API was last called, as well as the Admin By Request endpoint to call for Audit logs.

-
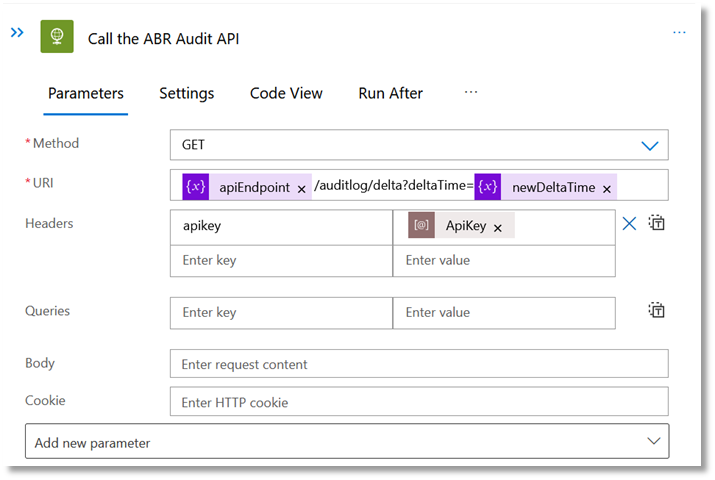
Call the ABR Audit API – Now it’s a matter of calling the Admin By Request Audit endpoint with your API Key, as well as the newDeltaTime variable.
-
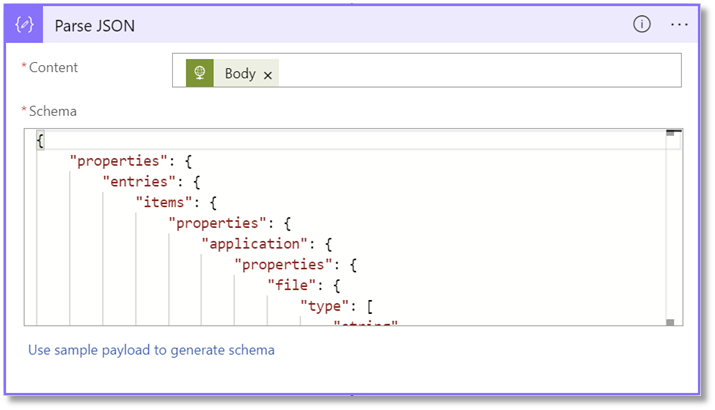
Parse JSON – The next step parses the response from the Audit API as JSON using a schema based on the response type from the Audit API (view the Auditlog API documentation for more information on this).
-
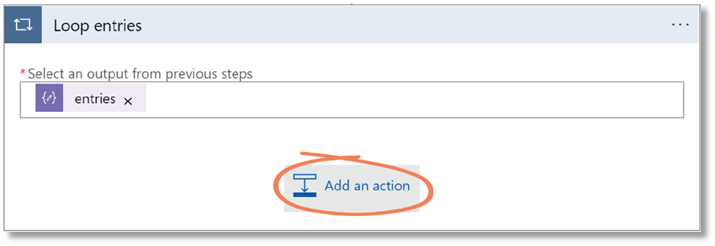
Loop entries – The final step in the app flow simply loops through every entry from the Audit call. Here you decide what to do with the data (see Task F).
F. Configure Loop Entries
In order to send data to your Azure Log Analytics Workspace, you must add an action for each entry in the dataset.
-
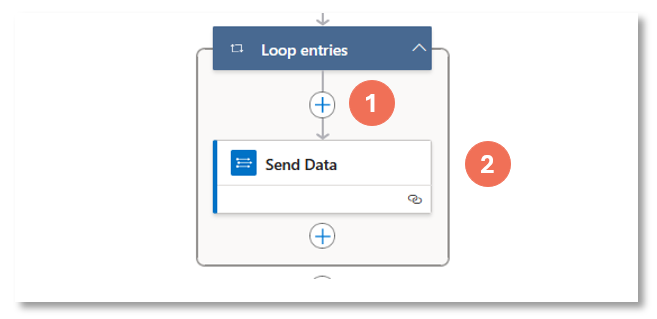
Select the Loop entries segment of the app flow and click the Add an Action button:
-
Click the + sign to add a Send Data action:
 NOTE
NOTEEarlier versions of MS Sentinel might require selection of a Data Collector first. If so, make sure you select Azure Log Analytics Data Collector.
After clicking Send Data, you may be prompted to create a connection. If so, follow the steps below.
-
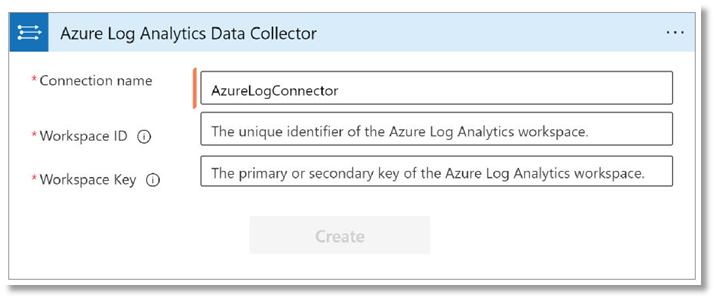
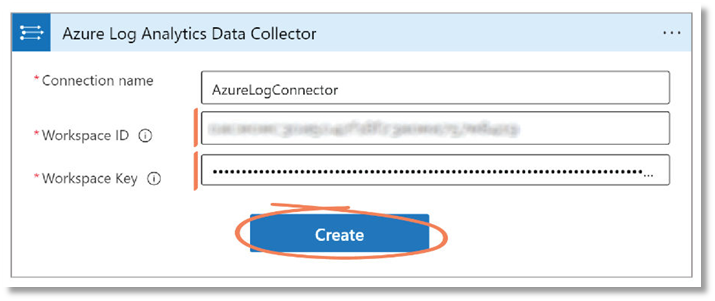
If prompted to create a connection, in the Connection name field, choose your desired name – in this case, we’ve used AzureLogConnector:
-
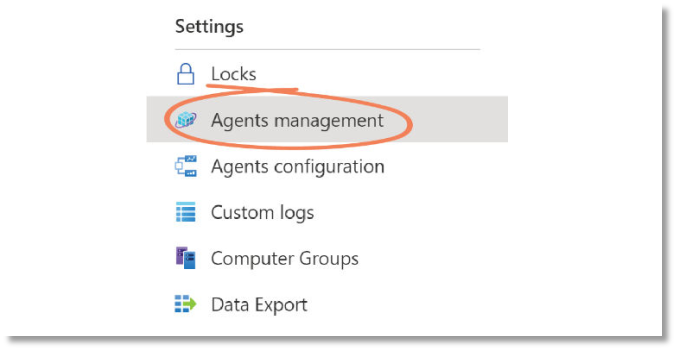
To locate the Workspace ID and Workspace Key, open your Log Analytics Workspace (i.e., SentinelLog) in a new tab and select Agents Management under Settings from the left-hand menu:
-
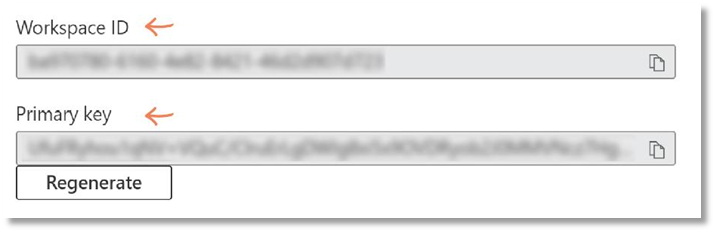
Copy the Workspace ID and Primary key values from this page:
-
Navigate back to the Logic App, paste the keys into their corresponding fields in the Azure Log Analytics Data Collector window, and select Create:
-
-
For Send Data, add the following two items:
-
In the JSON Request Body field, select Add dynamic content via the blue and white function icon (fx), and in the Dynamic content tab, select Loop entries > Current item:
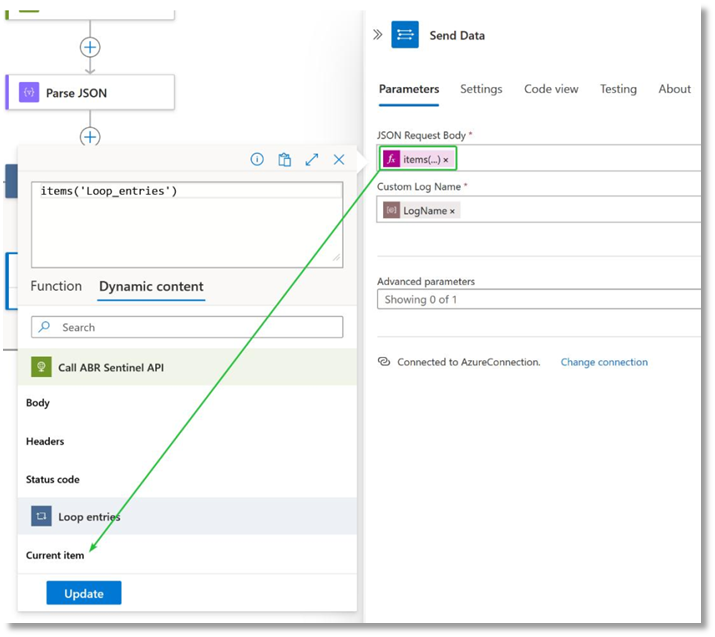
This selects the current item in the JSON loop and adds it as the request body.
-
In the Custom Log Name field, select Add dynamic content, and in the Dynamic content tab, locate and select the LogName parameter.
The
-
-
Select the Save button to save your app.
G. Test the Integration
-
Select Run Trigger > Run from the top menu:
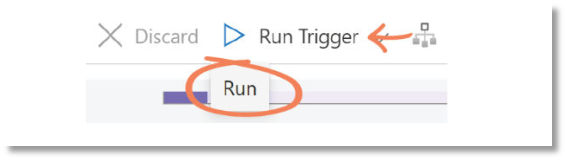
You may need to wait a few minutes for the flow to complete. When successful, it should look something like the following:

-
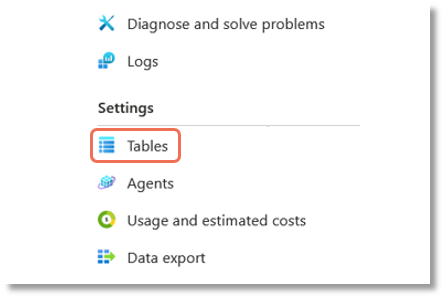
Navigate to your Log Analytics Workspace (i.e., SentinelLog), and select Tables under Settings from the left-hand menu:
-
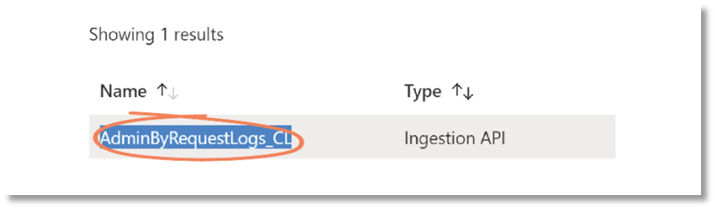
Highlight and copy the Name of the log listed – in this case, AdminByRequestLogs_CL:
-
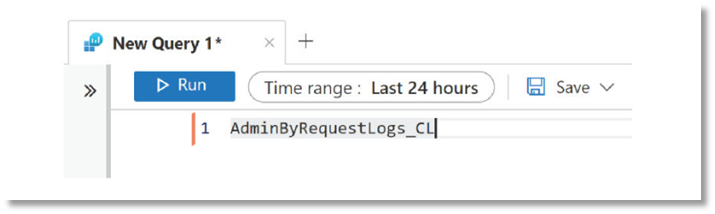
Select Logs from the left-hand menu (if a Queries window pops-up, close it).
-
Paste the copied log name into the New Query field and select Run:
-
New entries will begin to display in your Log Analytics Workspace as they are pushed through. Click the drop-down arrow to display details for each entry:
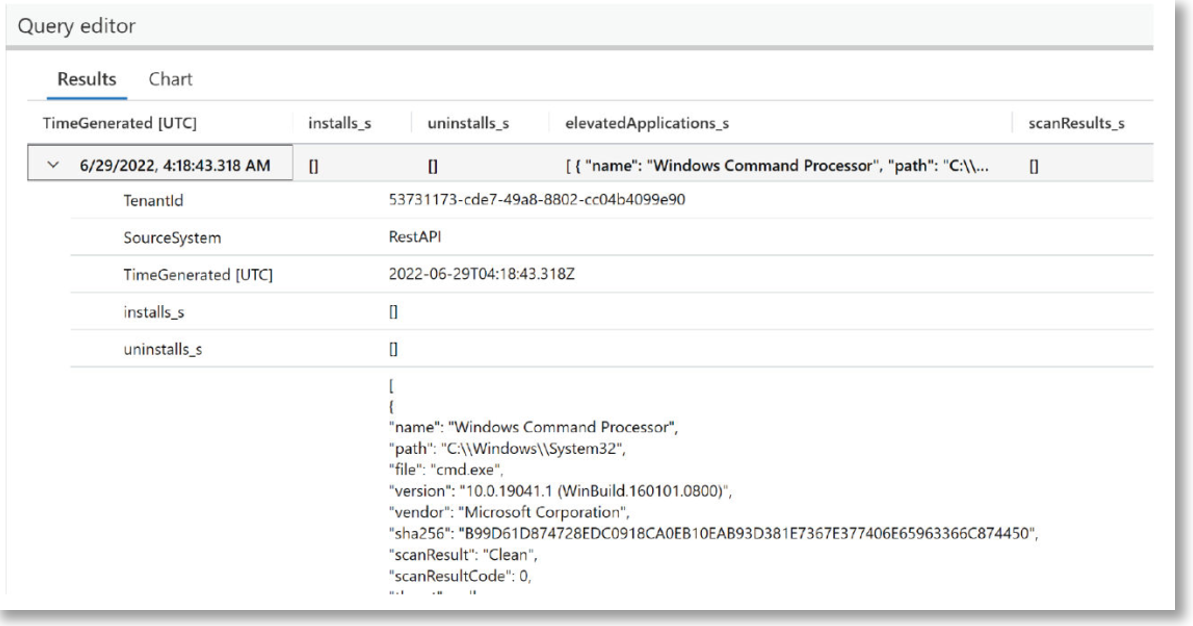 NOTE
NOTEIt may take several minutes for log entries to show up in the Log Analytics Workflow.
-
Click Save to save the query for later use.
With the Azure Log Analytics Workspace set up, you can now point your Sentinel setup to use this workspace as a data source.