Integration Tasks
Introduction
The following tasks are covered in this section:
A. Install Integration
The integration described in this document is made possible through a connection between ServiceNow and Admin By Request via a custom-built ServiceNow application. The first task involves installing the app in ServiceNow.
-
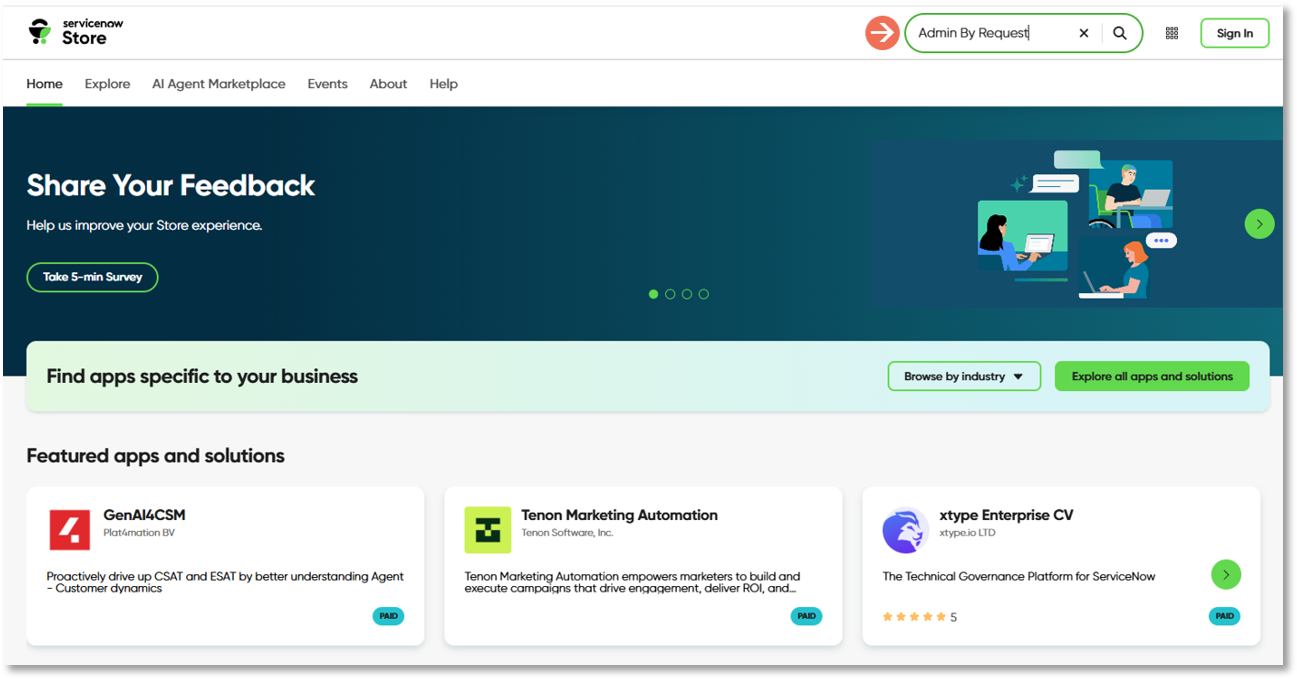
Go to the ServiceNow Store and use the search box to search for Admin By Request:
-
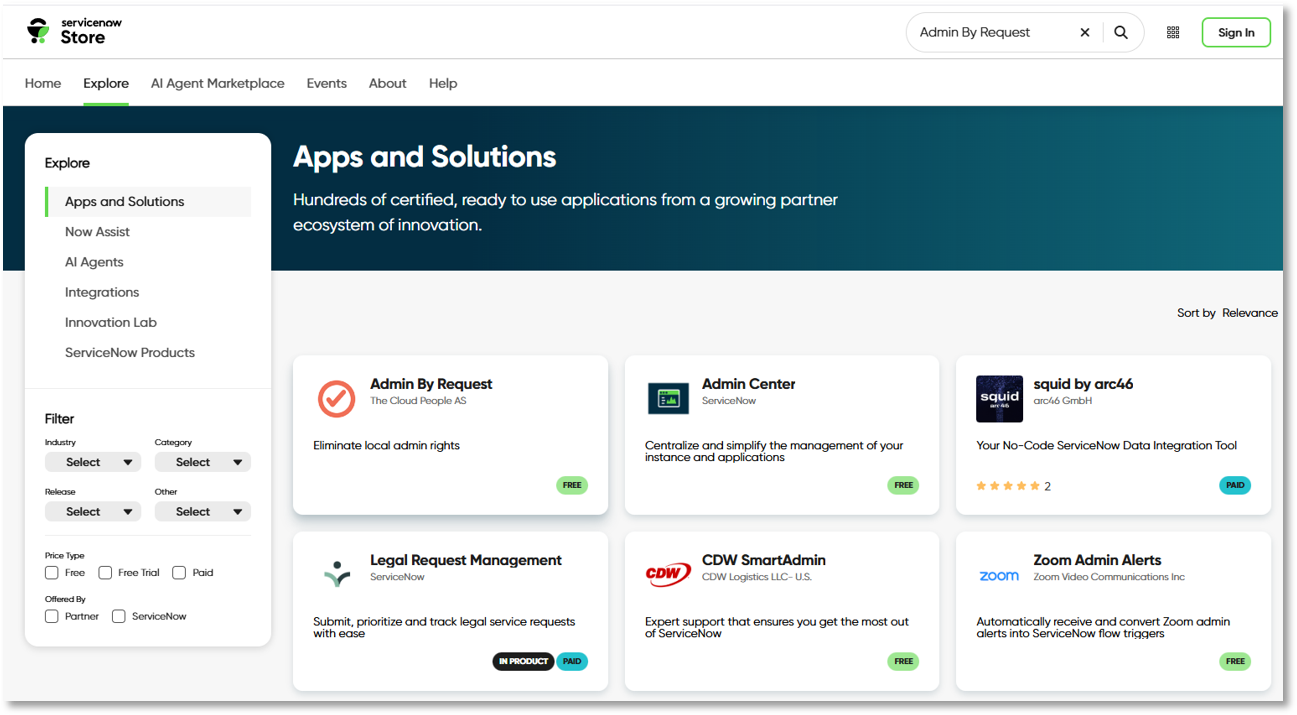
Under Apps and Solutions, select the Admin By Request integration app:
-
In the Admin By Request app page, select the Get button on the right-hand side:

-
Follow the instructions on screen to install the app in your ServiceNow instance.
B. Authorize Connection
Data-sharing from the Admin By Request portal to ServiceNow requires a connection between the ServiceNow application and the Admin By Request public API. Task B of the integration process involves authorizing this connection.
-
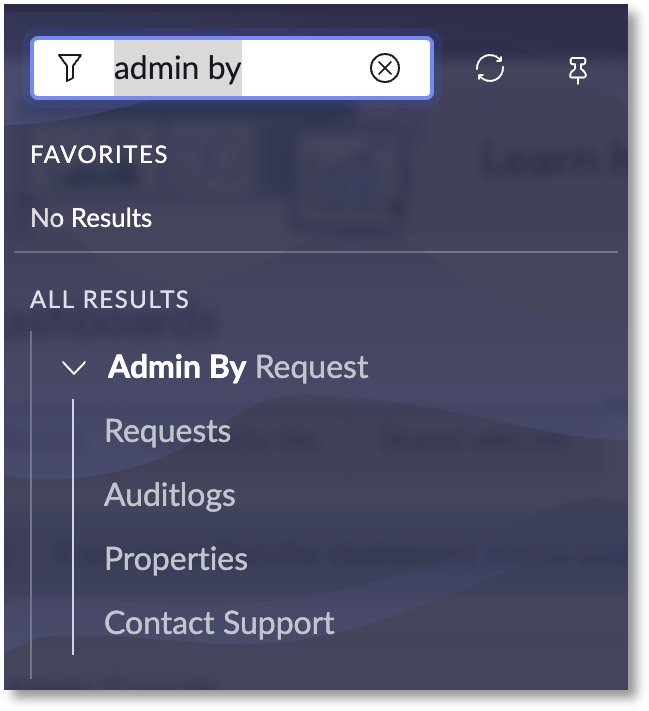
In your ServiceNow instance, using the Filter Navigator search box, locate the Admin By Request app:

-
Select Properties from the sub-menu:
-
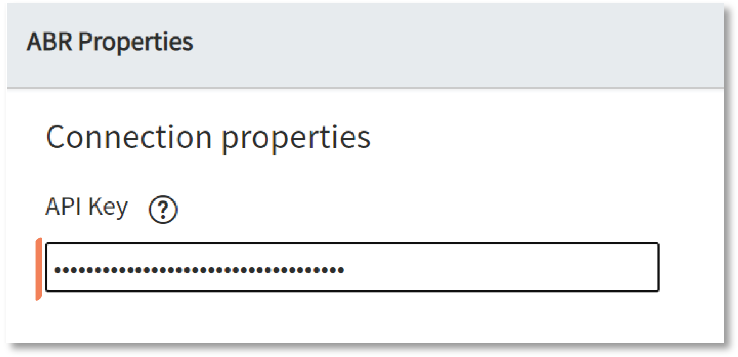
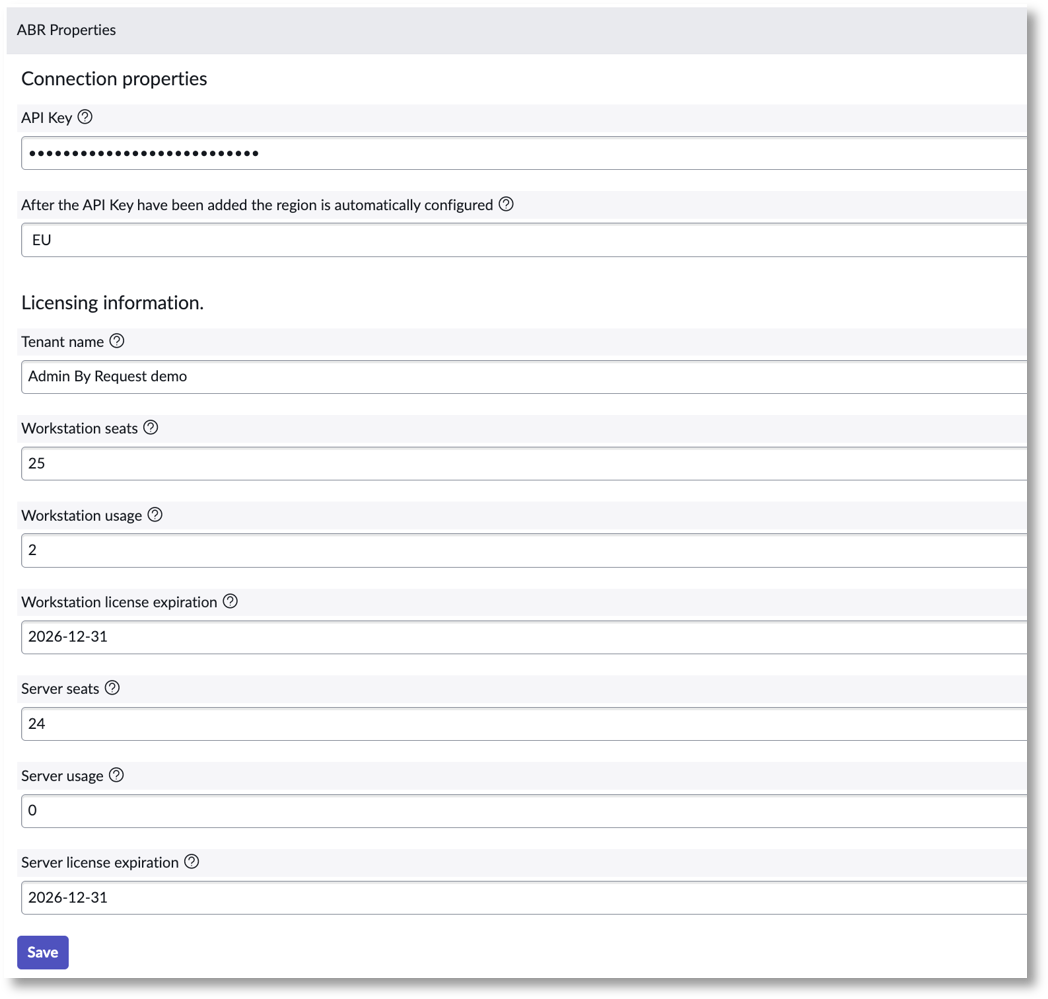
In the ABR Properties page, paste your API key into the API Key text box:
-
Click Save.
The remaining fields on the page are automatically filled out based on data pulled from your tenant when the API connection is established:
C. Configure Flow
The Admin By Request / ServiceNow integration incorporates a pre-built Flow designed to automatically get Admin By Request data into your ServiceNow instance. This task covers the steps involved in enabling the Flow to run so that the application can begin pulling the appropriate data.
-
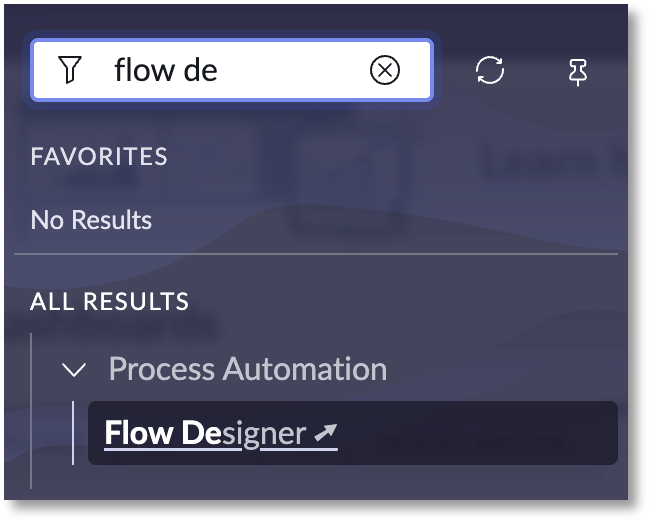
Using the Filter Navigator search box, locate and select Flow Designer:
-
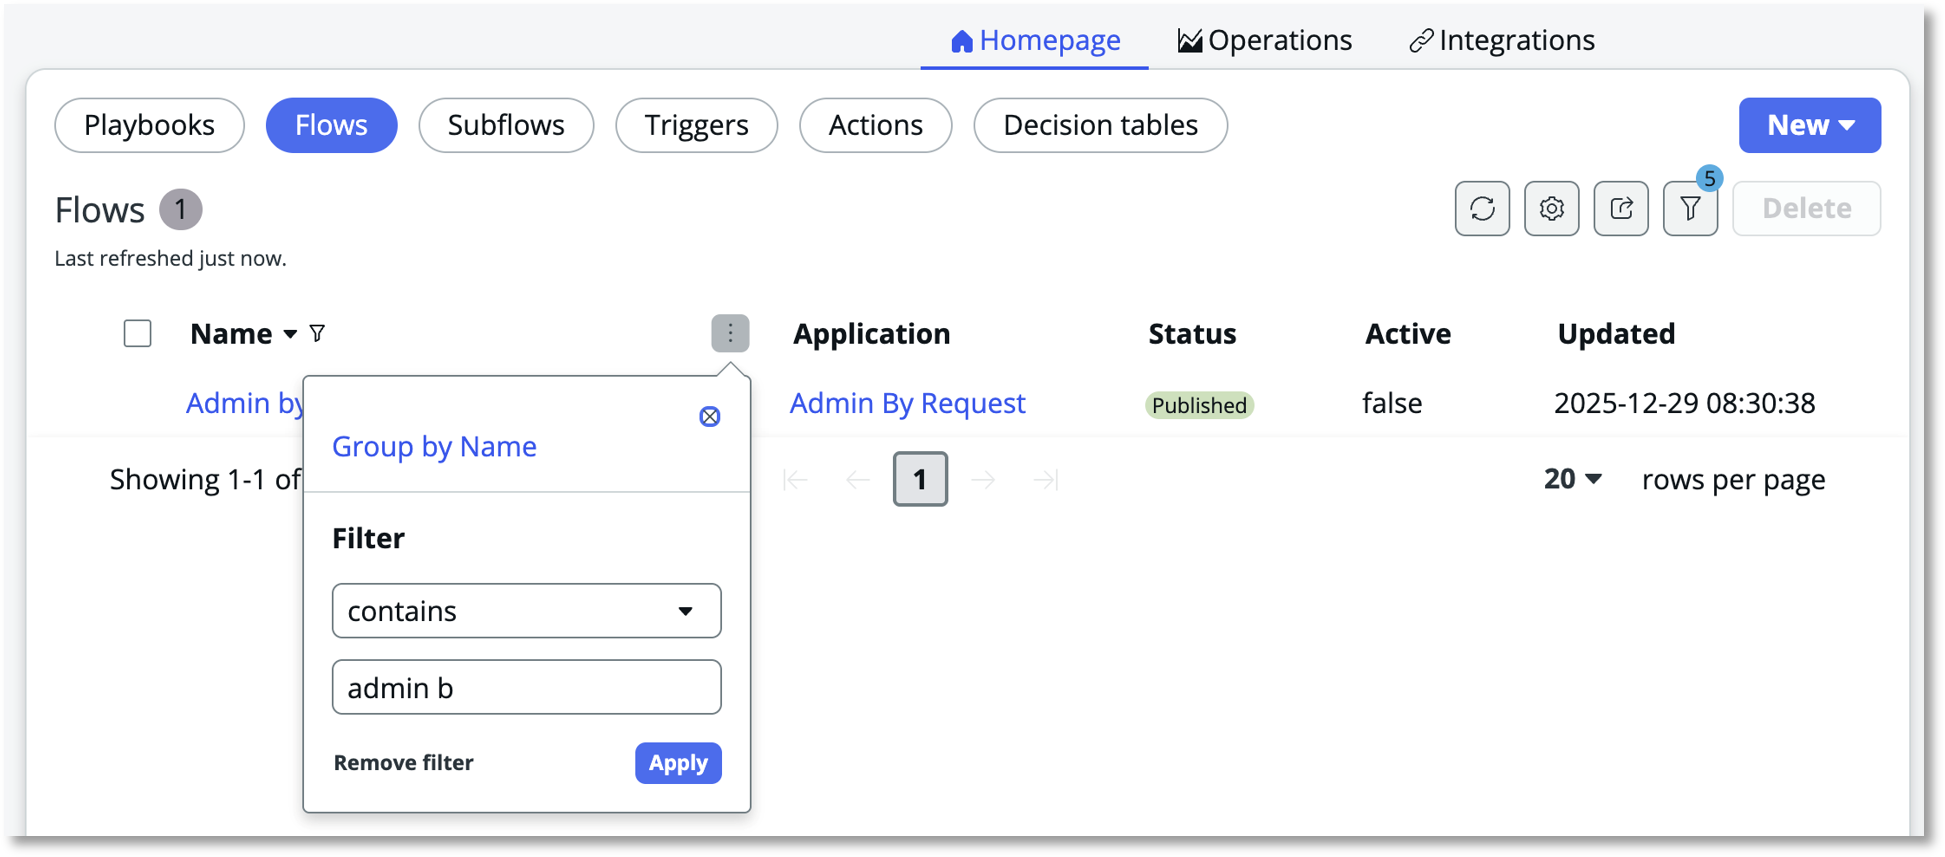
In the Flows tab, click the three dots associated with the Name field, select contains in the Filter and enter Admin By Request (case is not important and partial entry is fine). Click Apply to begin the search:
-
Open the Admin By Request - Update Audit Logs flow:
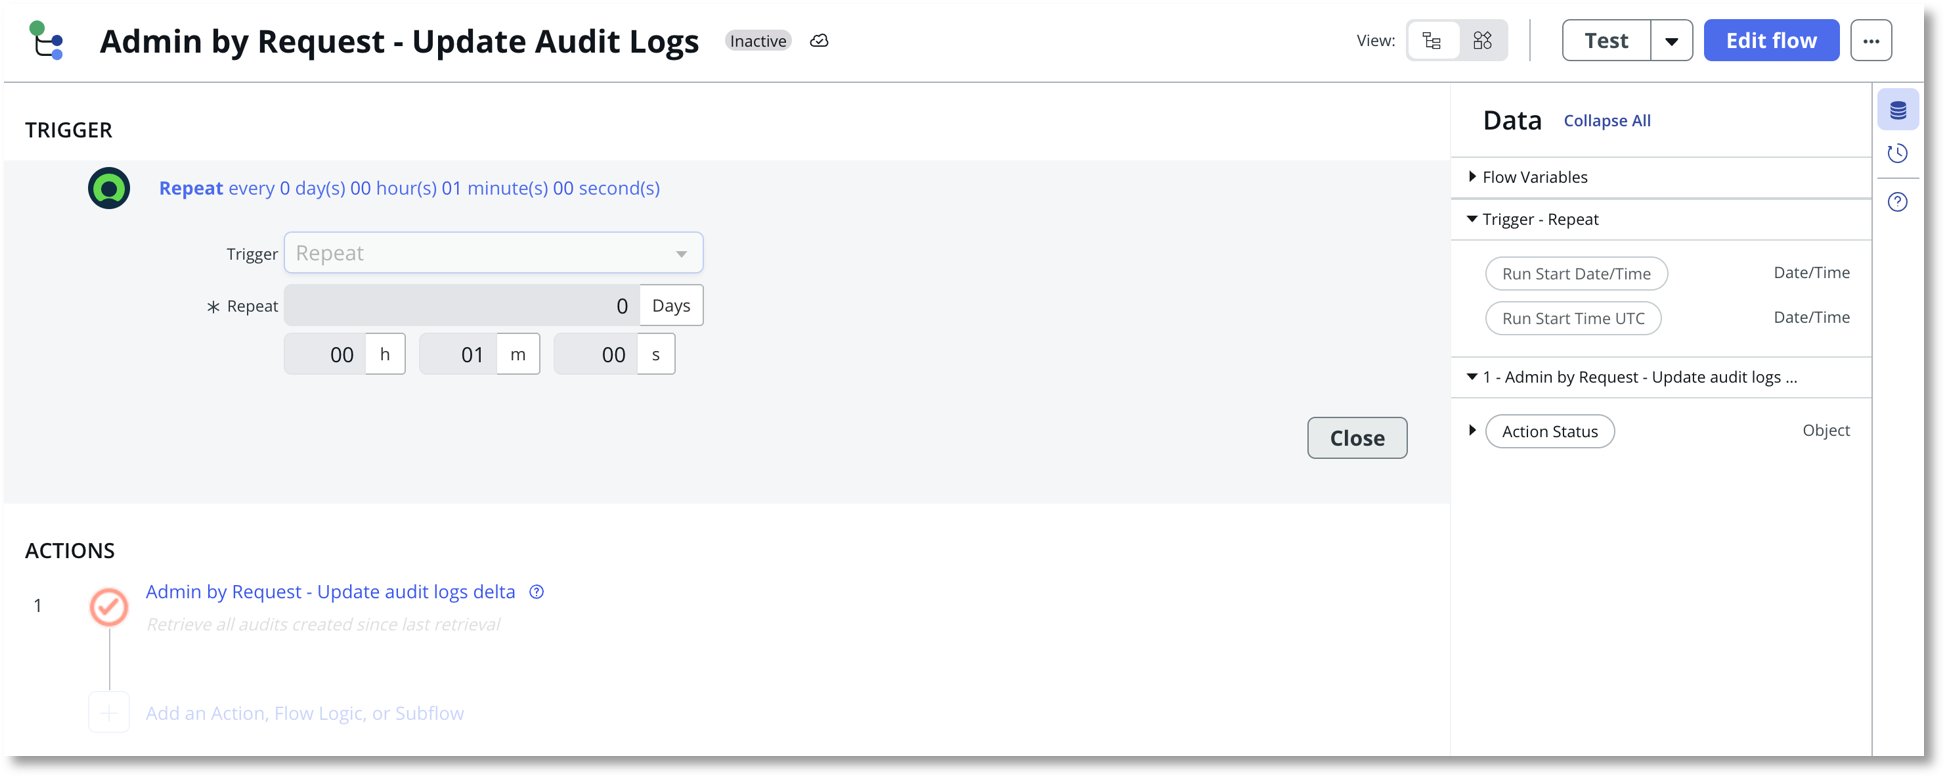
The interval for the flow has been pre-configured. The interval time can be adjusted by clicking Repeat every... under TRIGGER (if this text link is not visible, click Edit flow first).
-
Click the Activate button to activate the flow. If you see a Deactivate button rather than Activate, the flow is already running.
-
To test successful connection (B. Authorize Connection) and correct flow (C. Configure Flow), navigate to the Admin By Request Auditlog page in the ServiceNow app; listed here should be the existing Auditlog data from your portal:
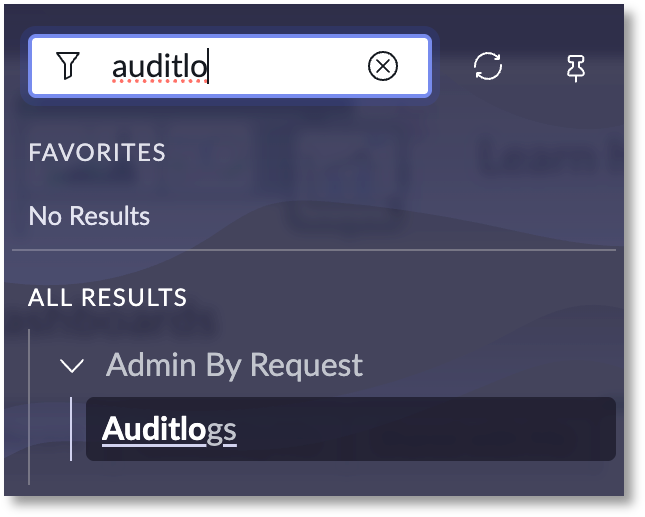 IMPORTANT
This assumes that you have existing Auditlog data in your portal to be pulled through to ServiceNow.
D. Assign User Access
Once the Flow is activated and the application is successfully pulling / updating data, access needs to be granted to the appropriate users within the ServiceNow instance, so that they can interact with Admin By Request features. This task covers the process of creating a group of users and assigning them access using pre-configured ServiceNow Roles.
In this example, we assign an Example Approvers group the role of User, which allows them to Approve or Deny requests within ServiceNow.
-
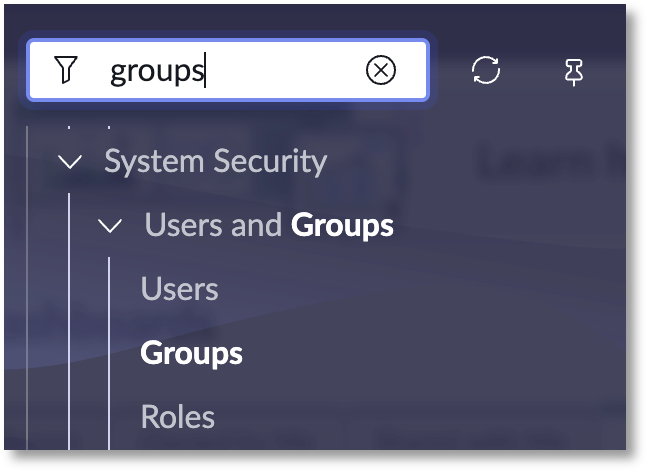
Using the Filter Navigator search box, locate and select Groups (under Users and Groups):
-
Click the New button in the top left-hand menu:

-
Fill out the fields as appropriate (i.e., according to your organizations preferences) and click Submit:
 NOTE
NOTEIn the above example, only the Name and Description fields are filled out.
-
Search by Name in the top search bar to locate and select the Example Approvers group created in the previous step (i.e., Step 3):
-
In the Roles tab in the bottom left-hand menu, click the Edit… button:
-
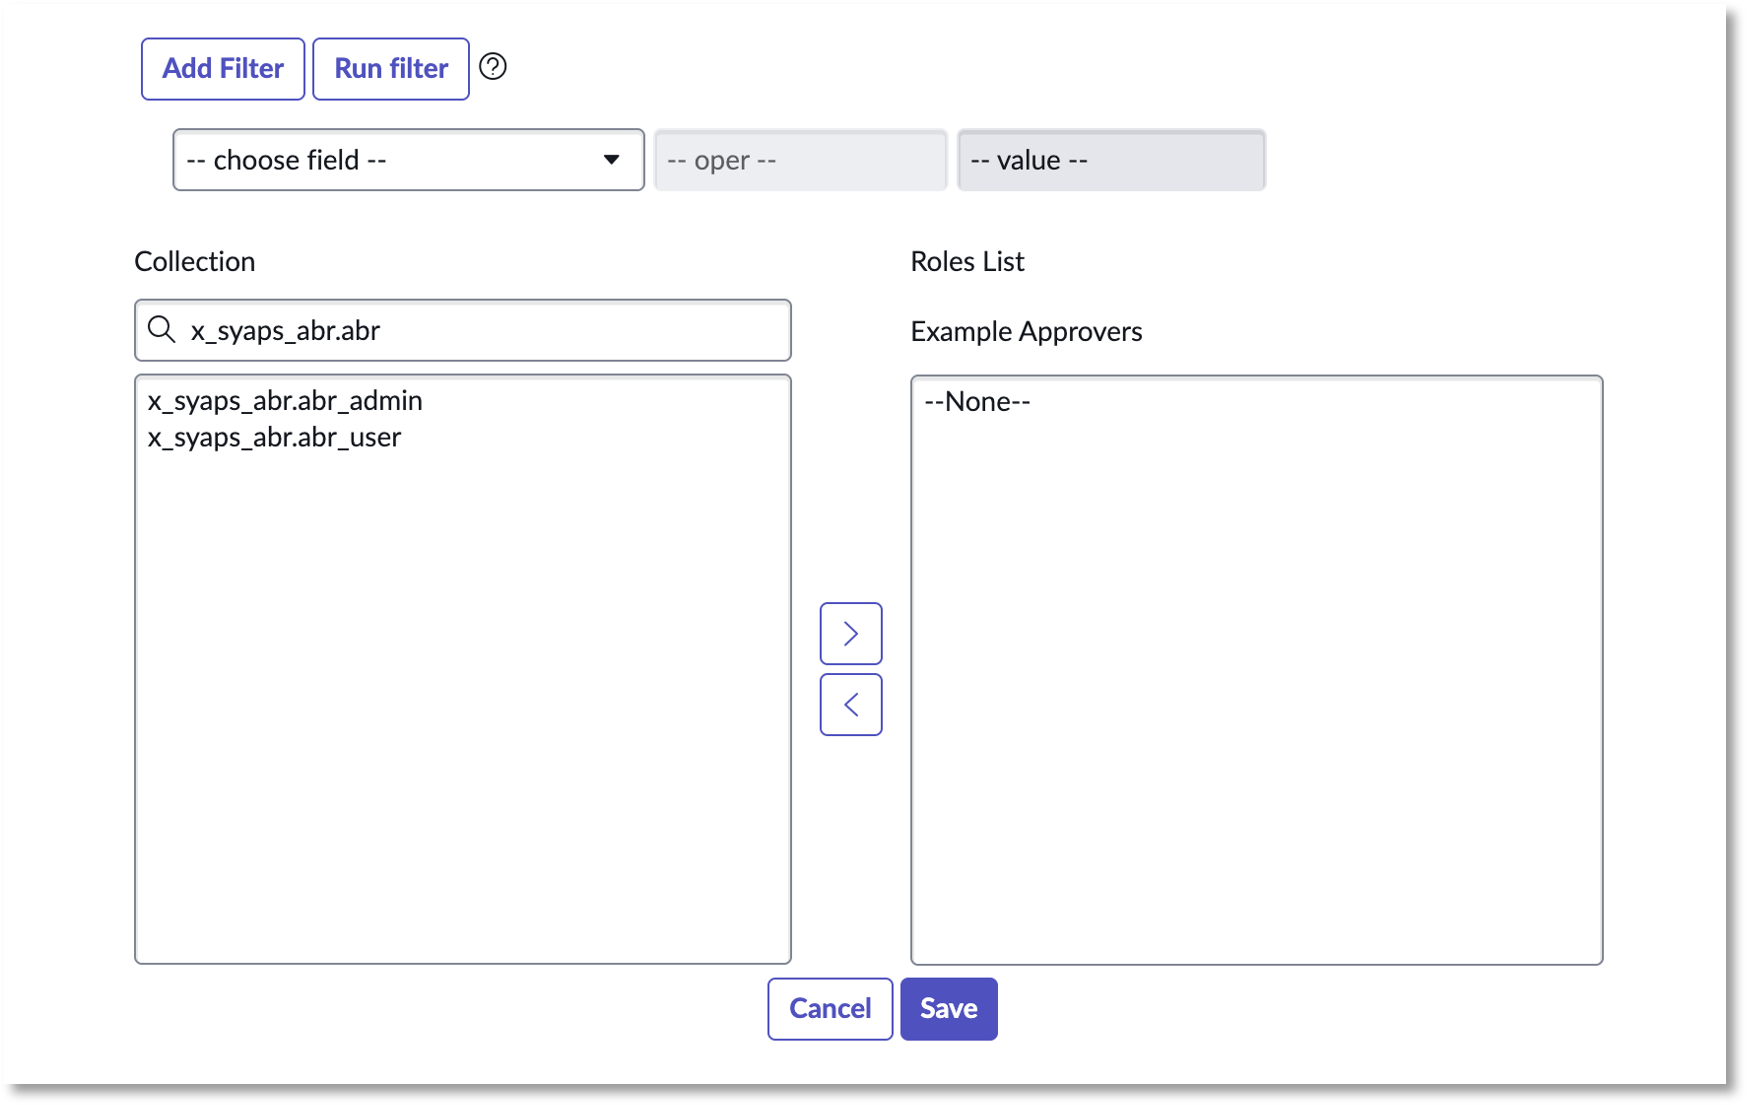
Use the Collection search box to locate the two pre-configured roles for this application:
-
x_syaps_abr.abr_admin: Users assigned this role have administrative access within the application, which includes the ability to access all application features (Requests, Auditlog) and the Properties page.
-
x_syaps_abr.abr_user: These users are able to access and interact with the Admin By Request Auditlog and Requests features (i.e., view / manage Auditlog data and Approve or Deny Requests).
-
-
Select the User role (i.e., x_syaps_abr.abr_user) and click the right-facing arrow button to assign the role to the Example Approvers group:
-
The role appears under the Roles list in the right-hand field. Click Save:
-
Users can now be added to the group in the same process used to assign roles. Return to the Group page, and use the Edit… button in the Group Members tab:

-
Use the Collection search box to locate the users for the group, and the right-facing arrow button to add them to the Example Approvers group.
NOTERoles can also be assigned to individual users. Navigate to Users from the Filter Navigator search box (under Users and Groups) and follow a similar process to what is described in this Task (i.e., Task D) to assign the appropriate Role to the user.
If you import groups from AD/Entra, the role can be added to one of those groups.
E. Use Features
Once the correct roles are assigned, users are able to access Admin By Request data through the integrated features: Auditlog and Requests. Task E covers how to use these features within the ServiceNow application.
This task is demonstrated from the viewpoint of a regular user in the ServiceNow instance (i.e., a member of the Example Approvers group assigned the role of User in Task D) as opposed to an Administrator (the role required for completing tasks A through D).
Auditlog
-
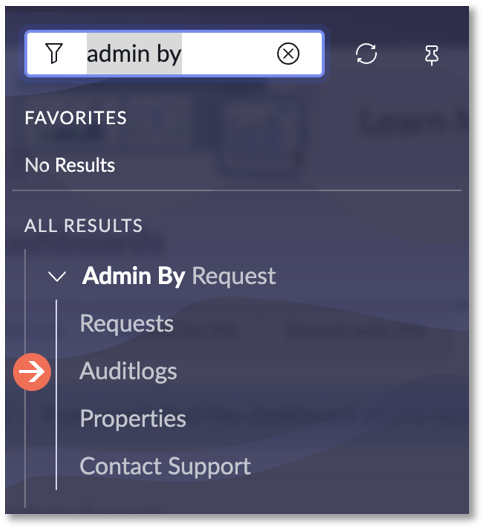
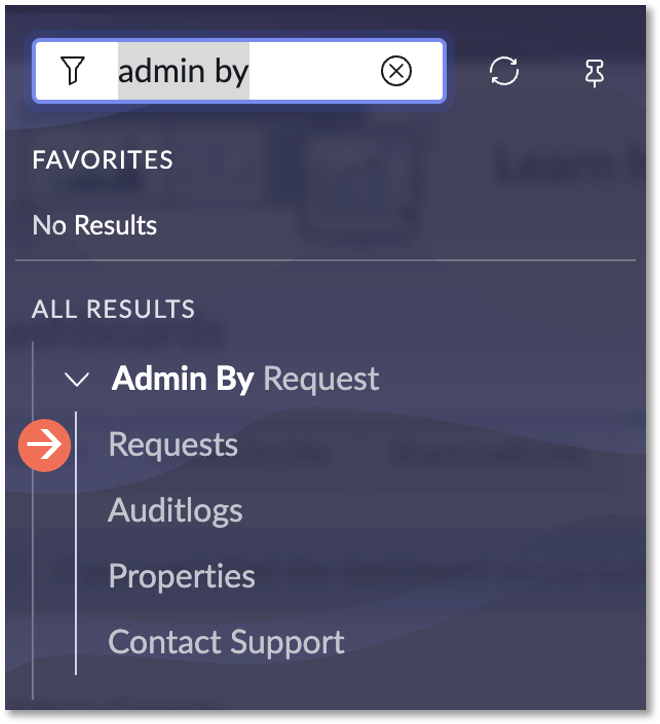
Using the Filter Navigator search box, locate the Admin By Request app and select Auditlogs from the sub-menu:
-
The Auditlog page displays all of the recent Auditlog data from Run As Admin and Admin Session requests. Information includes:
-
State: This could be ‘Pending Approval’, ‘Denied’, ‘Open’, or ‘Finished’.
-
Type: Either ‘Run As Admin’ or ‘Admin Session’.
-
Application: The application that the user requested to Run As Admin.
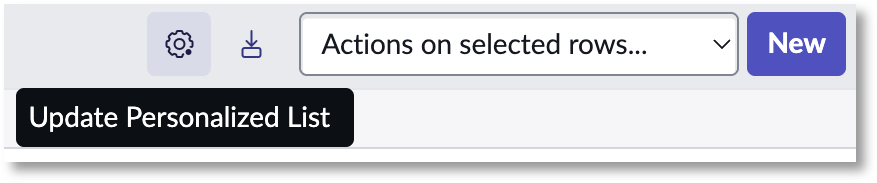
You can add more information via Configure list layout (if you are system admin) or Update personalized list (for anyone with access to the Auditlog):
There are no applications listed in this column for Admin Sessions because multiple applications may have been accessed during the time the Admin Session was active.
-
Scan Result: This column displays ‘Clean’ unless the VirusTotal scan has flagged malware.

-
-
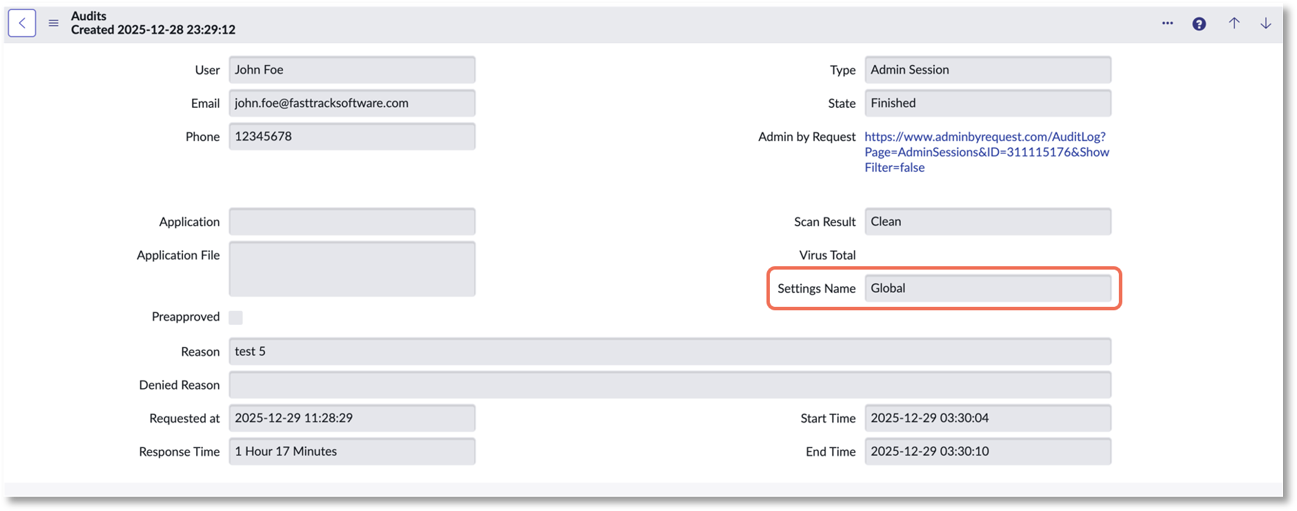
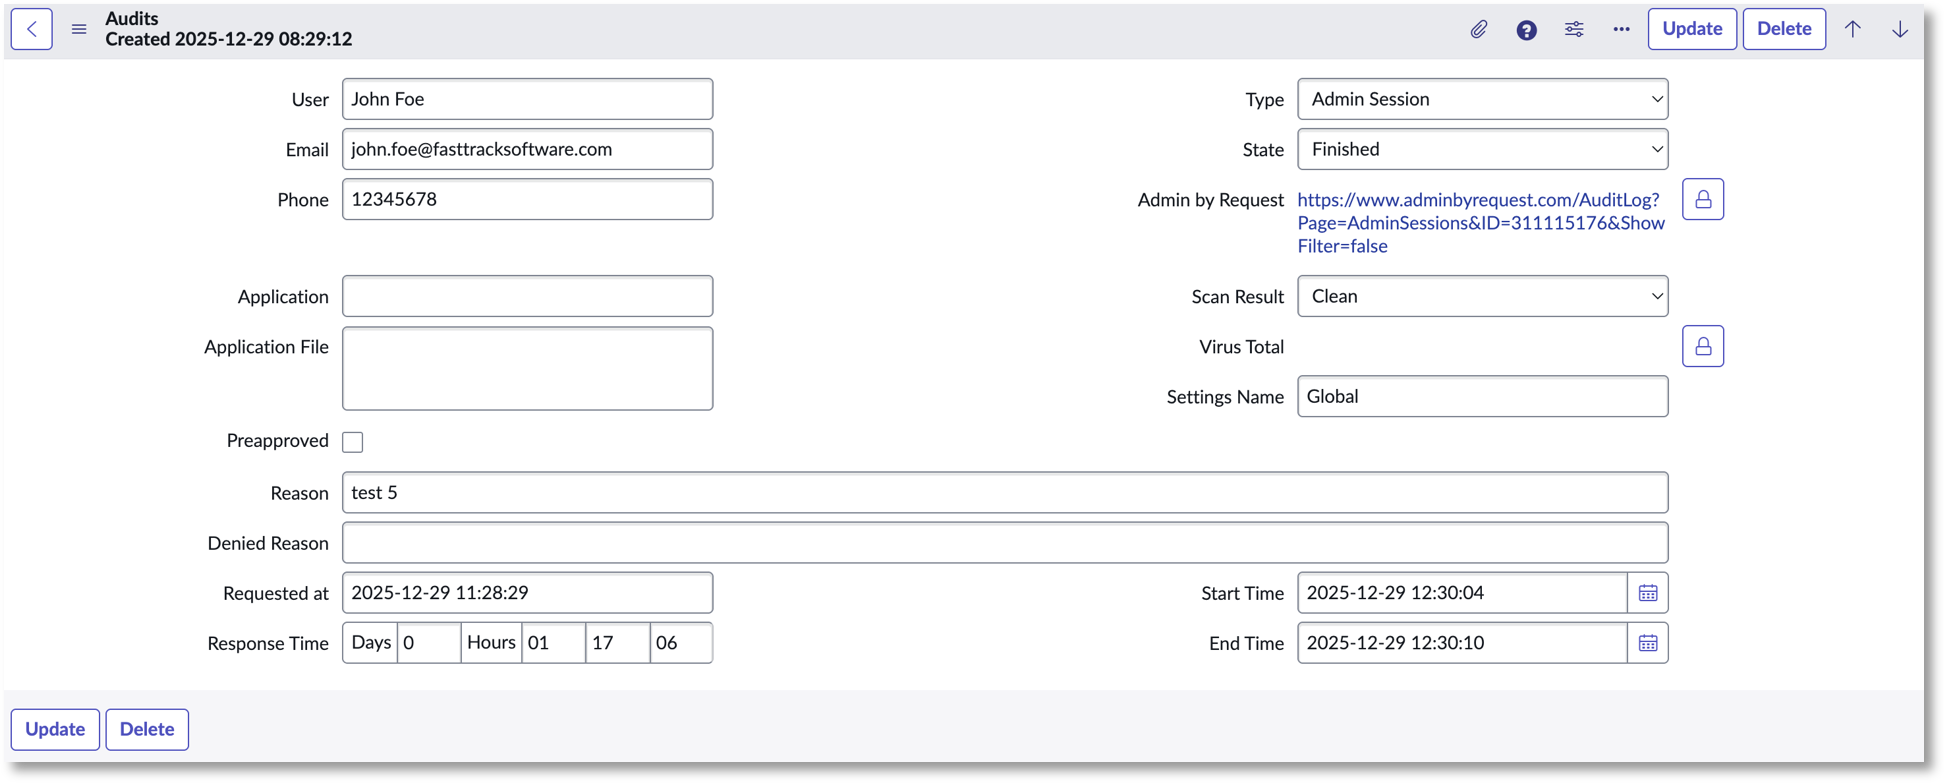
Select an item in the list using the State column to view the available data for that Auditlog entry. Available data may include some or all of the following:
 IMPORTANT
-
The value in the Settings Name field (Global in this example) represents the Admin By Request portal setting or sub-setting used for the request. Settings Name is available in both Requests and Auditlog data and can be used in internal workflows.
-
If logged in to your instance as a ServiceNow administrator (not just an application admin), Auditlog data can be edited and updated manually by making the desired changes to an Auditlog entry and clicking the Update button. However, editing Auditlog data is NOT RECOMMENDED.
-
-
Selecting an item in the Activity column (from the Audit Log Activities section, bottom of page) displays further information, such as the file path.
Requests
-
Using the Filter Navigator search box, locate the Admin By Request app and select Requests from the sub-menu:
-
The Requests page displays all of the requests made by users that are pending approval:

-
Click the desired Request to open it.
-
Information about the request is displayed. Click the Approve button to approve the request:
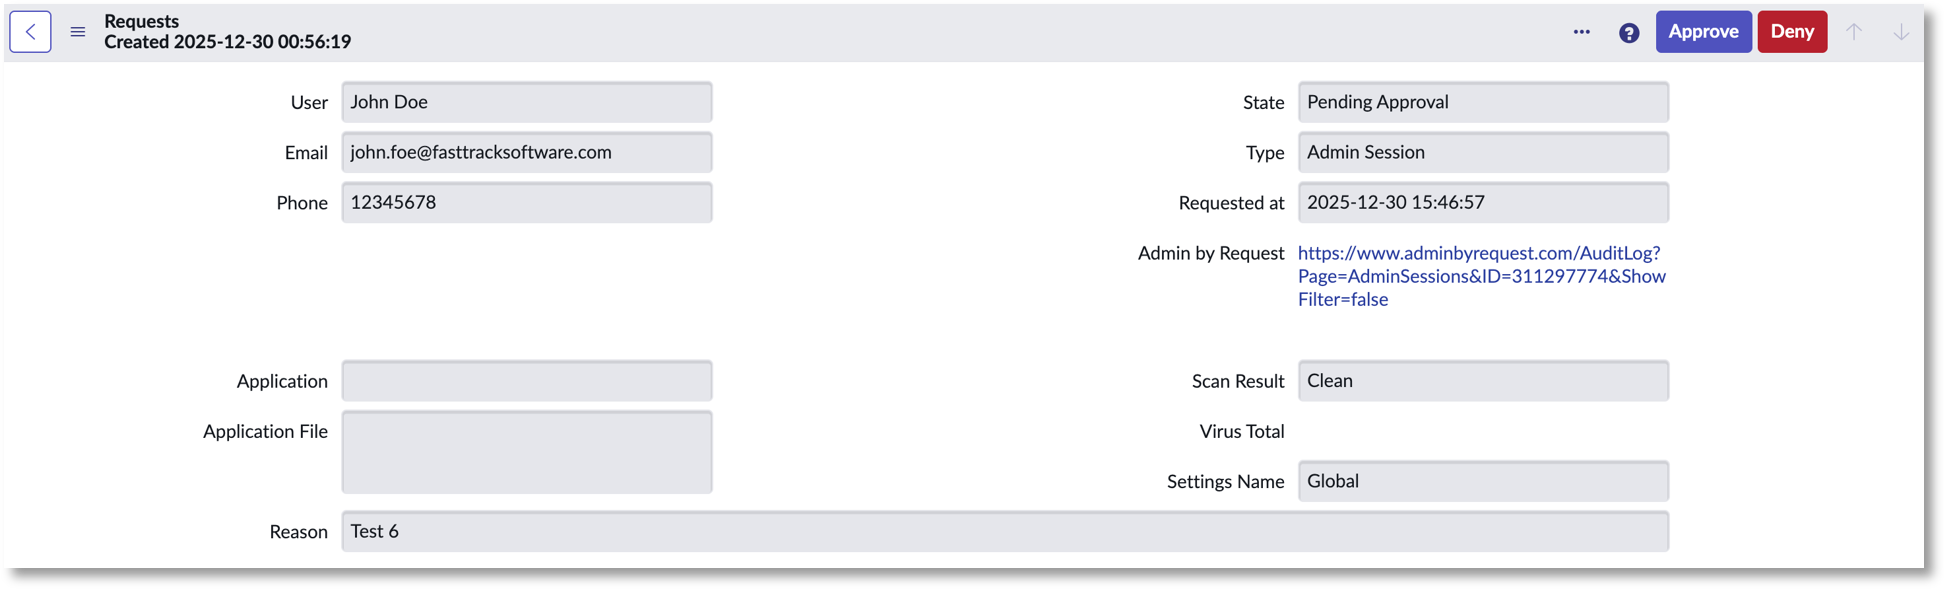 The user who made the request will receive an email from Admin By Request that their request has been approved. When the request is complete, the details will be available in the Auditlog in ServiceNow.
 -
To deny a request, click into the Request and select the Deny button.
-
A confirmation window appears following this action. Click Yes to deny the request, with the option of stating a reason for denial:
 The user who made the request will receive an email that their request has been denied, with the reason included (if a reason was given).