Approval Flow
Approval flow
This page describes the approval flow that occurs when a user either invokes the Run As Admin feature or requests an Admin Session.
Requesting access
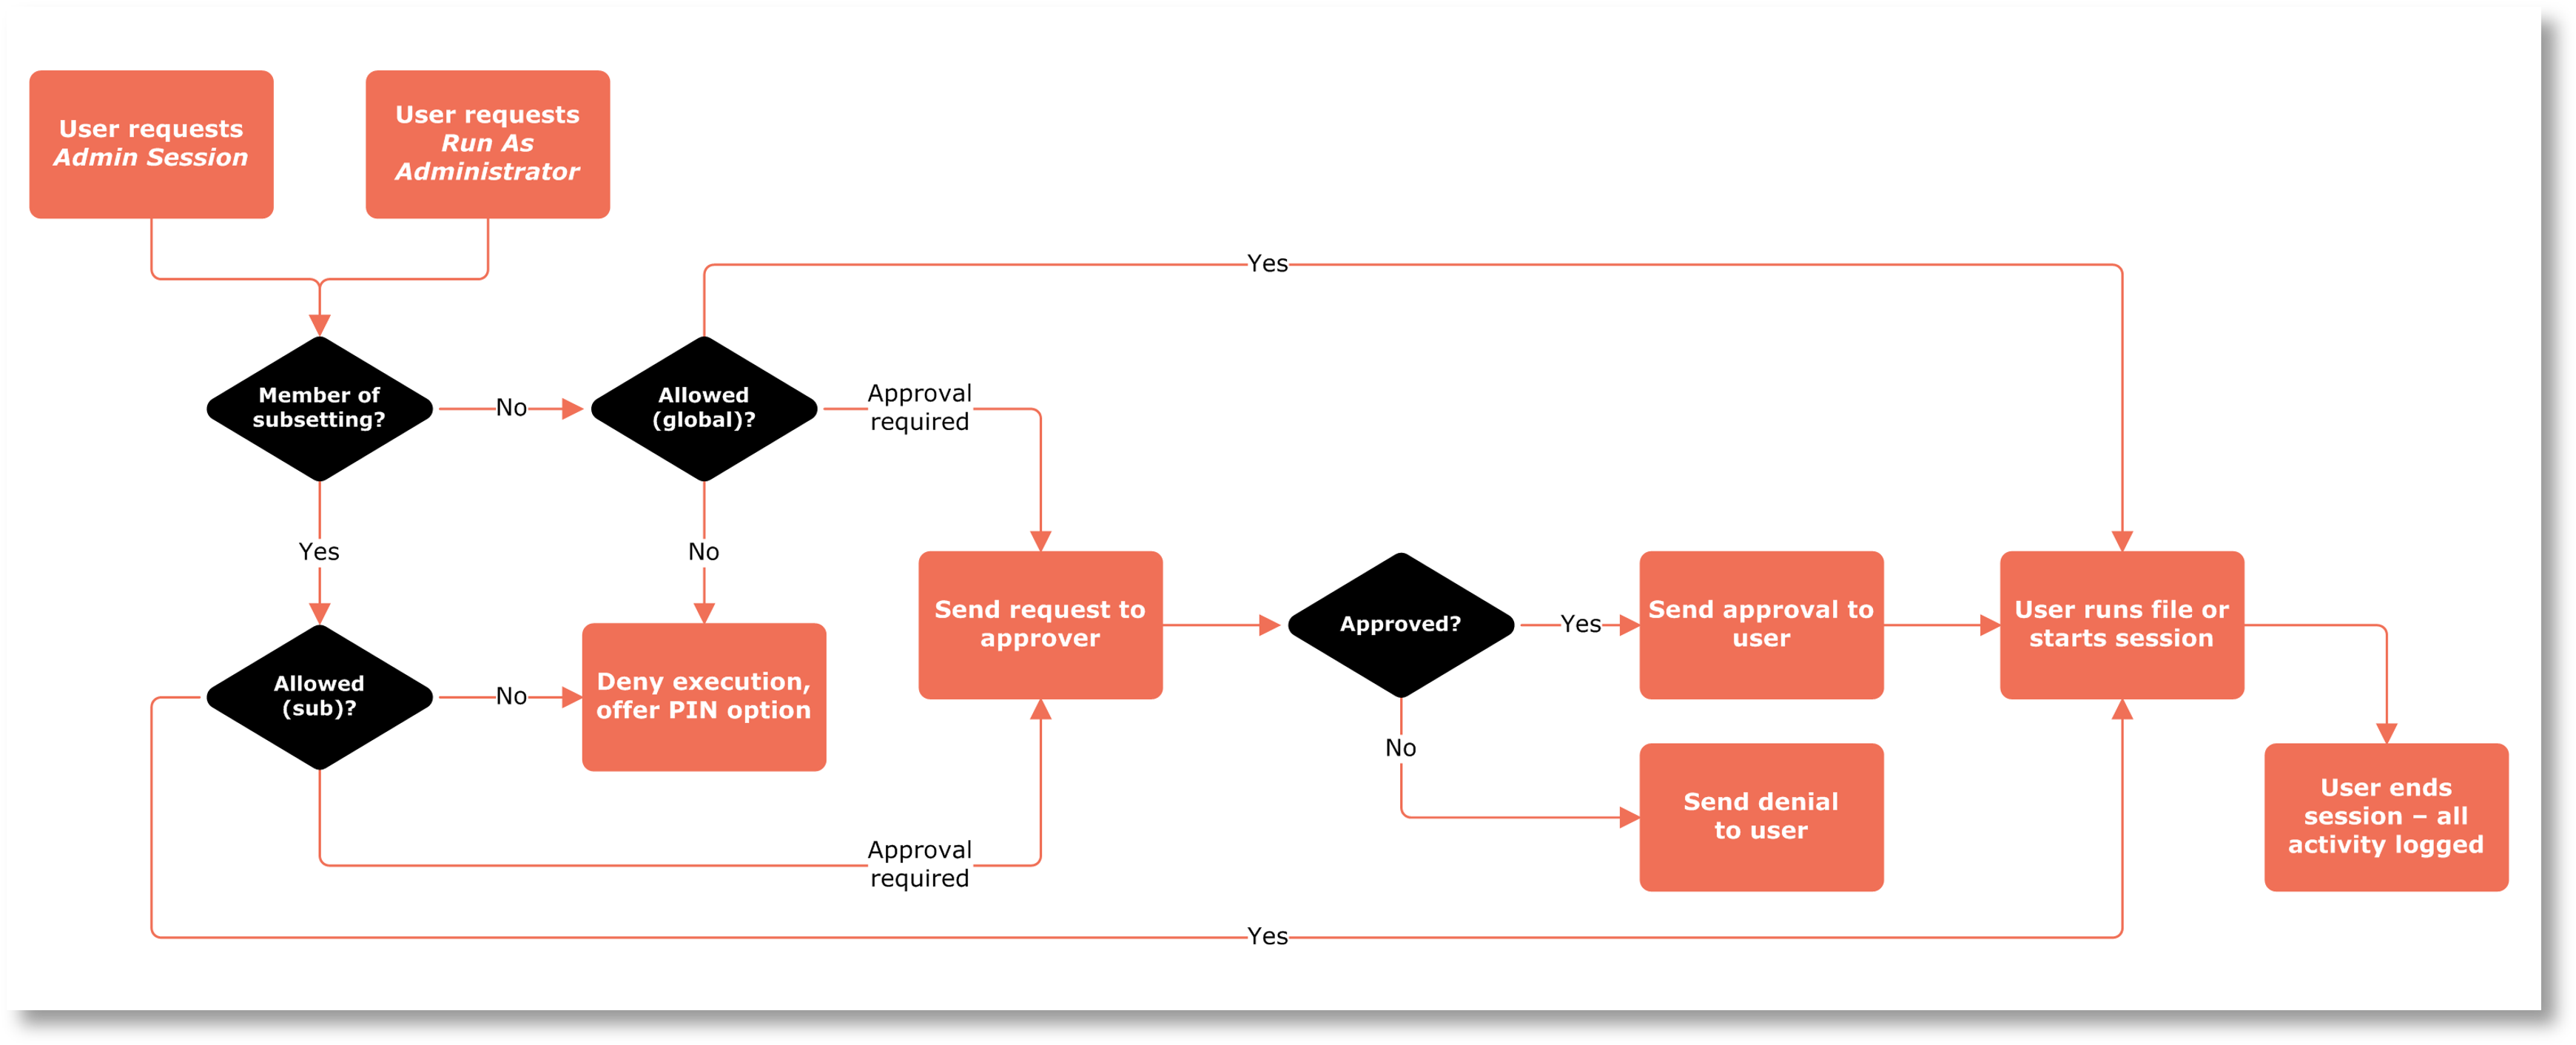
When a user needs to install software or run an application with administrative privileges, the user invokes Admin By Request's Run As Admin or Admin Session feature. The outcome is one of these four things:
-
It works just as if Admin By Request was not installed (audit only)
-
The user has to enter a reason and then it works
-
The user has to enter a reason and wait for an approval
-
The user gets a message that this is not allowed (PIN option still possible)
Which of these scenarios the user will experience is decided by the rules you set up in your portal account settings. You can configure different rules for different users based on Active Directory groups or organizational units (OU). This is called Sub Settings and is explained further down this page.
The chart below shows the flow of approval.
Run As Admin with approval
The video below walks through the set up steps and the user experience. A typical set up is allowing “Run As Admin” without approval, but with the reason screen enabled. The video below goes through a scenario, where both are turned on, to show the full approval flow.
Sub Settings
Naturally in any organization, you would not want the same rules for all employees. You may have anything from expert IT users to external personnel that would have no reason to do anything on a computer. The way you solve this is by having default settings, which are called Global Settings. These would typically be the most restrictive to handle a case, where a user or computer by mistake is not in any groups or OUs of any subset. This is the Authorization page of Global Settings from the portal “Settings” menu:

In the portal, you have a sub menu called “Sub Settings”. Sub Settings is for defining other rules than the Global/default for some users or computers.
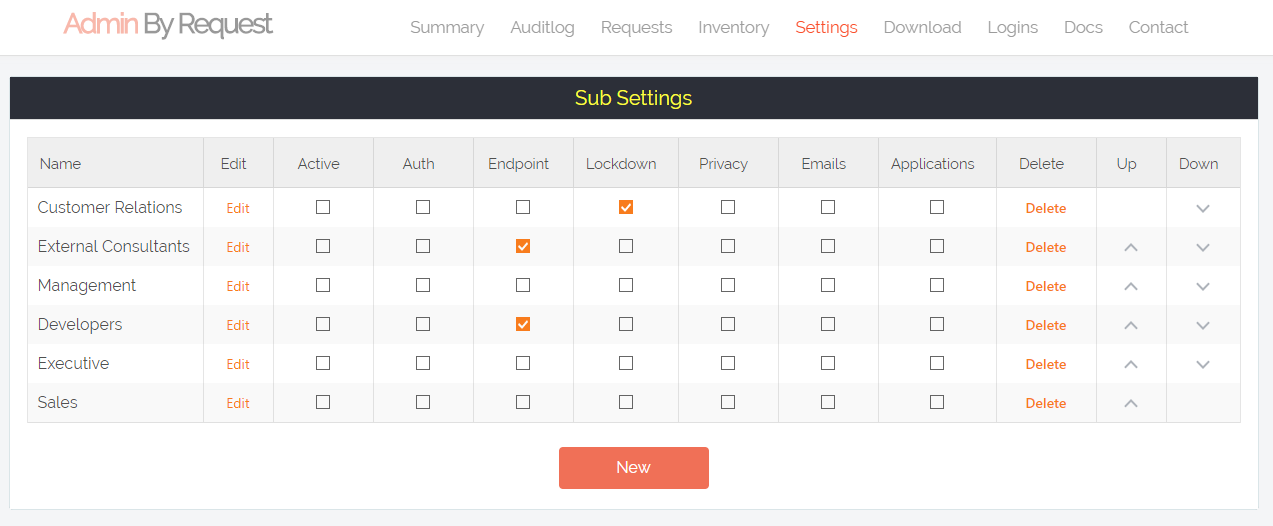
When you create a new subsetting, you must enter the scope of the subsettings. The scope is based on the user or computer and can be one or more groups and/or one or more OUs:
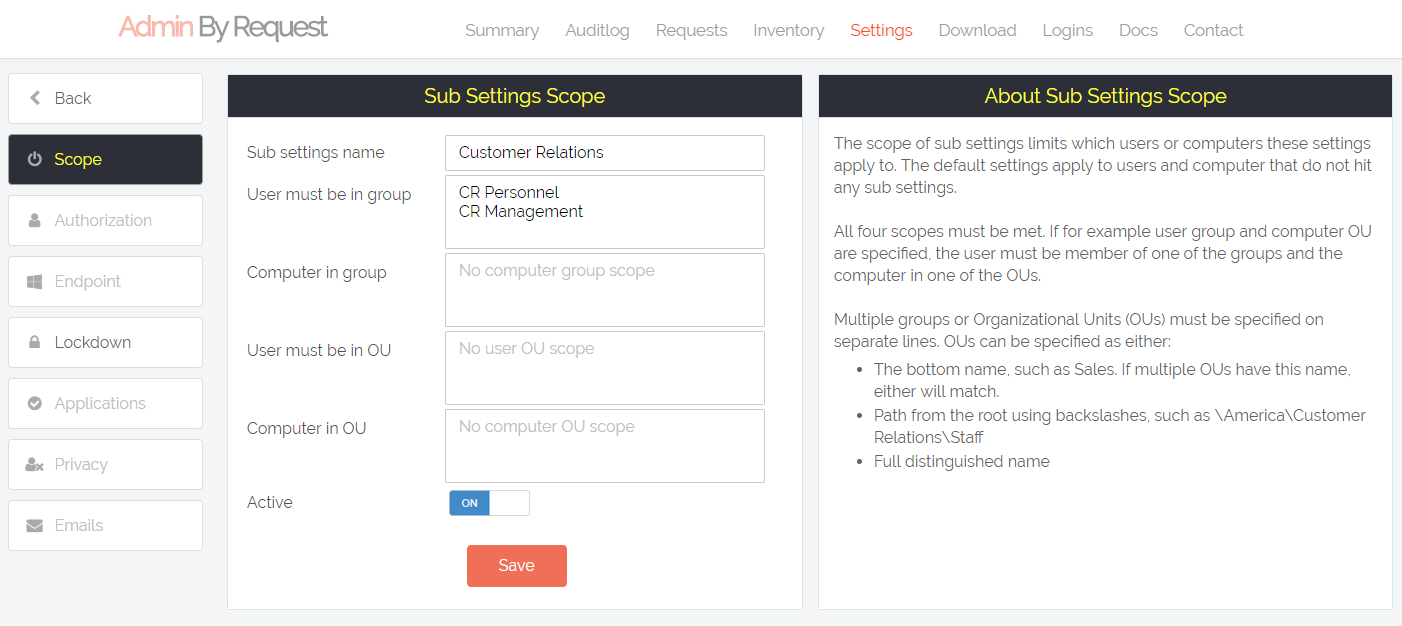
When creating subsettings, it is typcally to have different authorization rules, but you can overrule all settings in subsettings. You may wonder, if this works off the LAN, as it is based on Active Directory. It does – because computers cache this information encrypted for usage off your LAN. This means that all your portal changes are real-time no matter where you endpoints are in the world. Endpoints are not dependant on having to visit your LAN from time to time.
Application pre-approval
If you do not use “Required approval” for Run As Admin, pre-approval is not relevant. But if you do require approval for Run As Admin, one problem often arises. While the intention with IT approving all administrator activity is to keep the environment tight, some users have a legitimate need to run the same applications over and over with administrator privileges.
An example is a developer having an occasional need to run Visual Studio with administrator privileges. Using approval for these bread-and-butter operations is not really a viable solution:
-
One way to solve the developer example would be to create a sub setting for developers and not have approval on for these users. This would however of course disable approval for all applications.
-
Another way is to pinpoint the applications that they use often and pre-approve them if they are deemed safe. Let’s say 10 applications are pre-approved, then everyone can run these 10 applications without approval from you. All other applications go through the approval flow above.
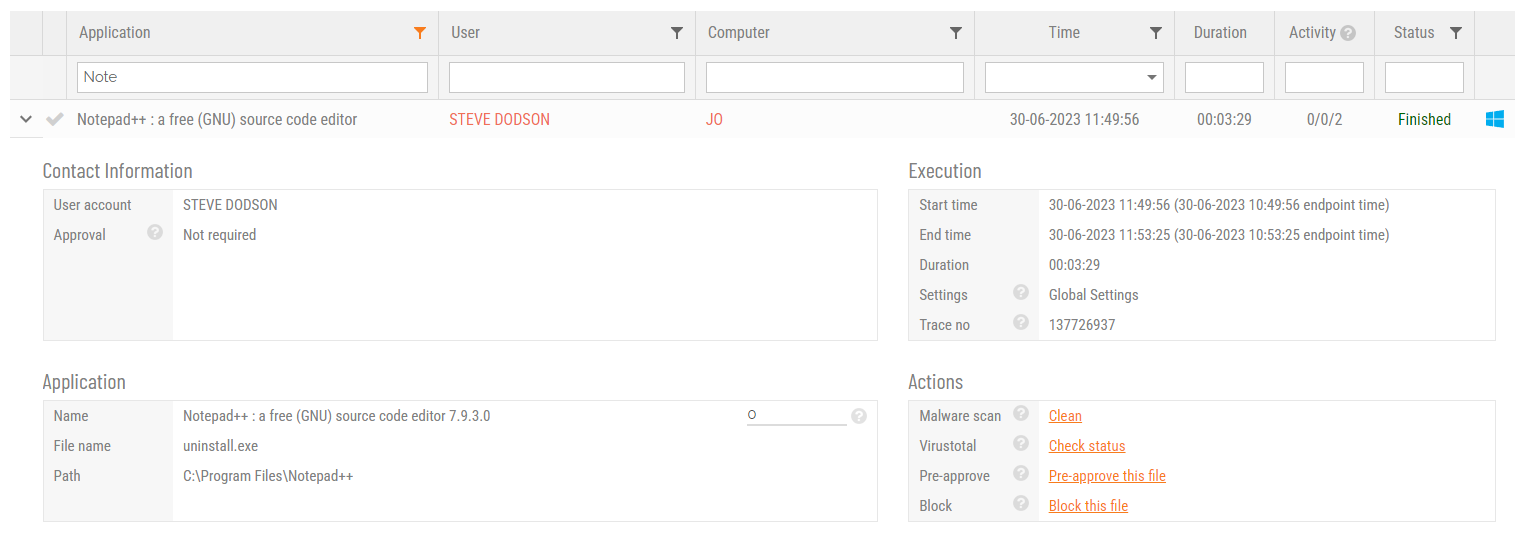
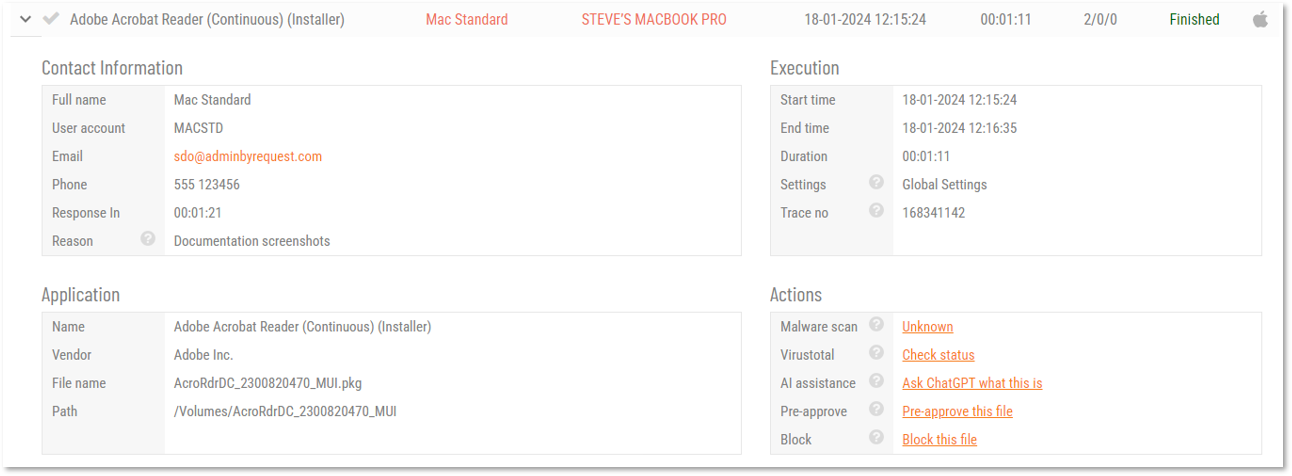
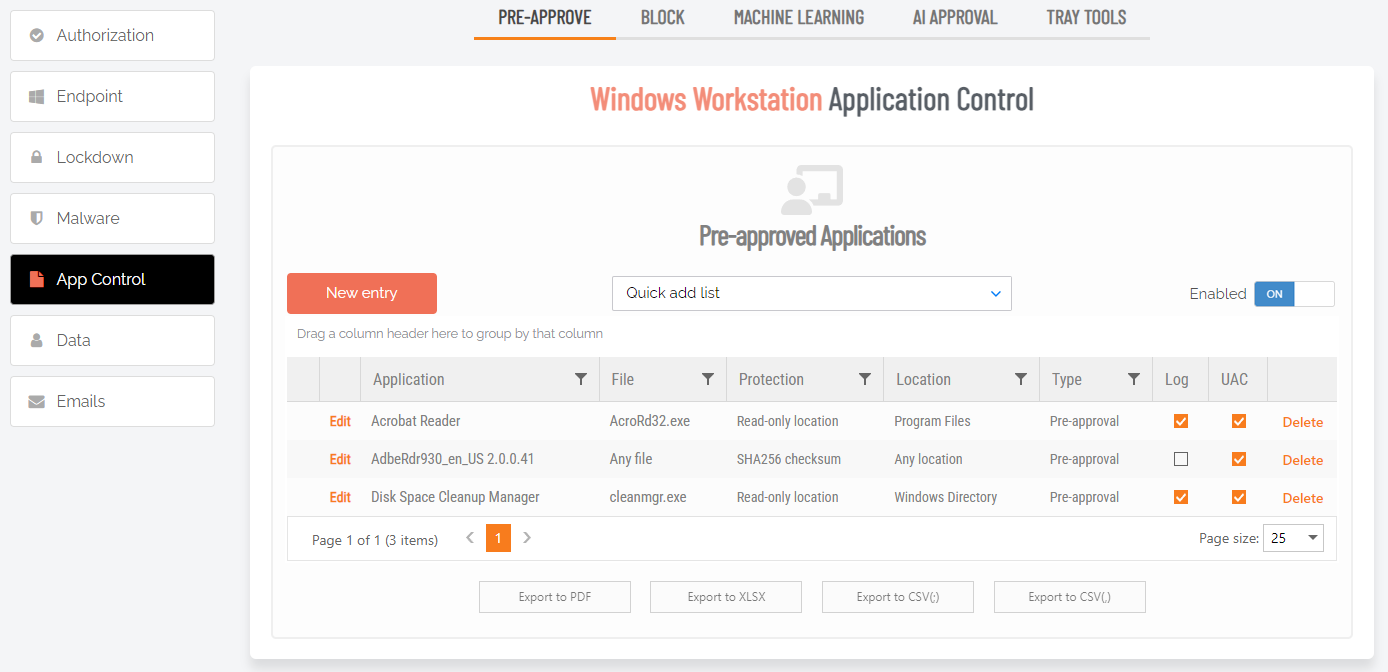
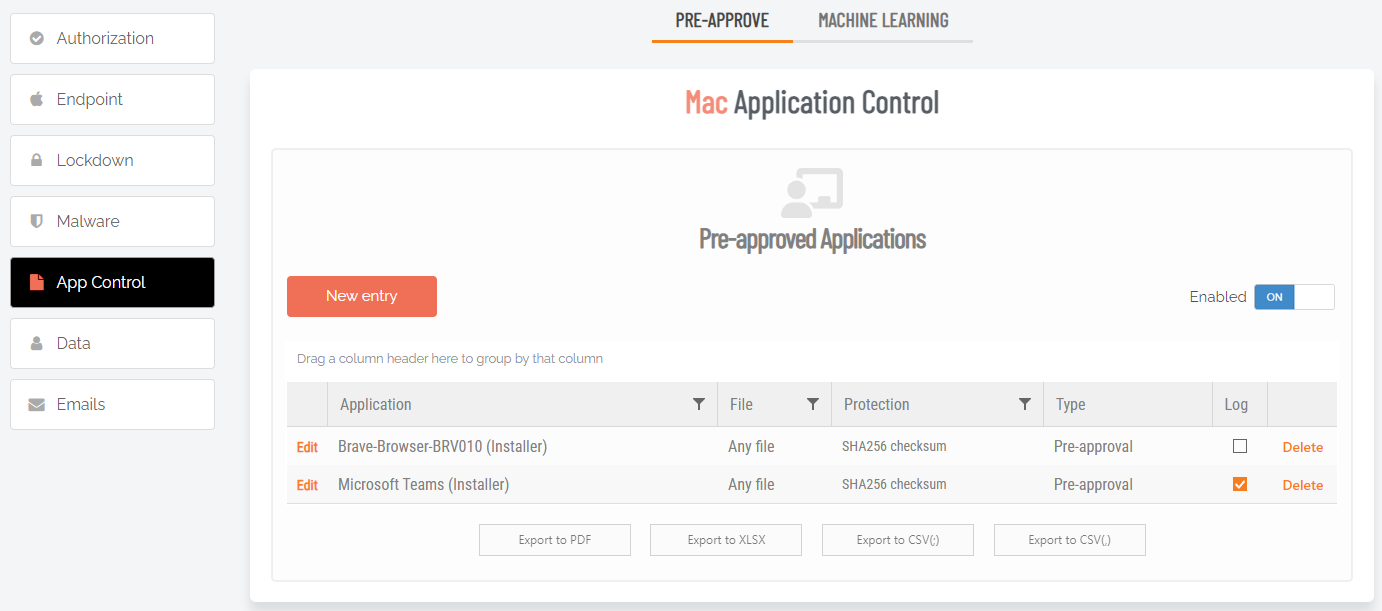
The way you pre-approve is to either go to Settings -> App Control and add a new entry. You can also locate the application if it appears in your Auditlog and click the link to take you to the same page. This would pre-populate all the information, as in the following example for Microsoft Visual Studio:
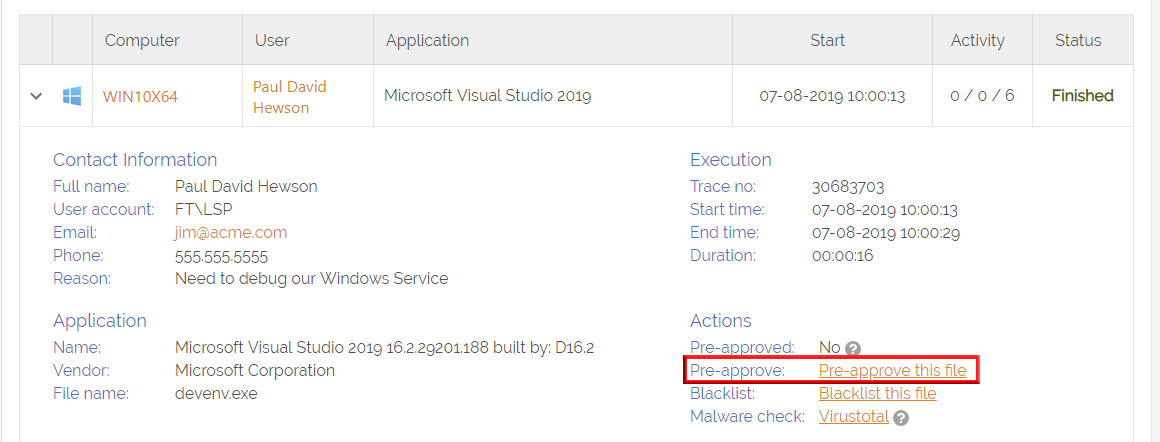
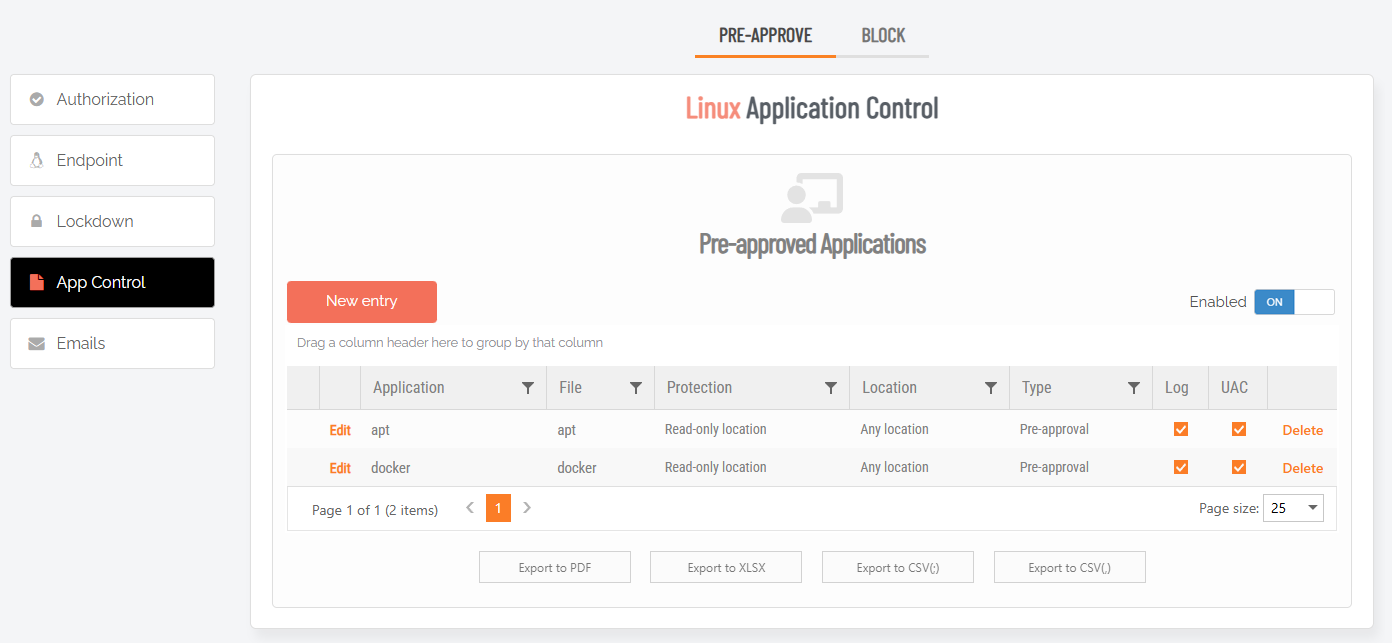
This will open a page, where you define properties for the pre-approved application. This only thing you have to take into account is that you have to be sure that users cannot rename a file and thereby get an unintended pre-approval. Therefore you should add what is called a “Protection”. Protection can be:
-
No protection (not safe, as a user can rename a different file).
-
File must be located in a specific read-only location.
-
File must match a checksum (specific binary version of a file).
-
File must have a specific code certificate (the “Digital Signatures” tab on a file).
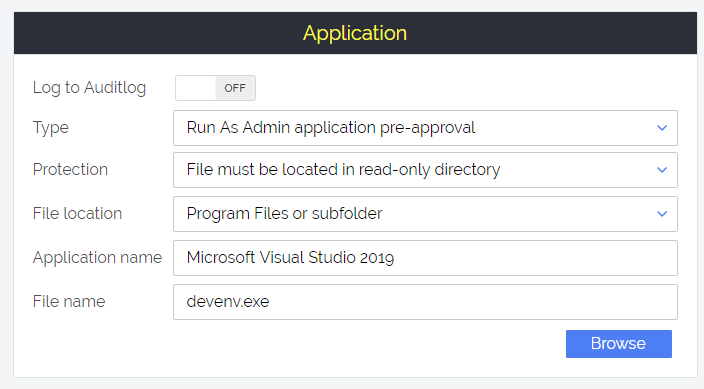
In the case of visual studio, devenv.exe is located under Program Files, where users cannot put a different file with same name. Adding the protection that it must be located anywhere in Program Files makes sure that someone cannot rename a different file to devenv.exe and get it pre-approved. Note that we did not put in the full path, but just selected anywhere in the read-only Program Files tree. This makes sure that this rule applies to any version of Visual Studio, not just the 2019 version.
Installer pre-approval
An application file and an install file are both just a file. The main difference is that an install file would typically be considered more dangerous than an installed application file. But also, an install file would typically be downloaded from the internet, so we have to apply a different protection than the file location.
One way is to look at the digital signature of the file. This means we pre-approve, say, acmesetup.msi – but because a user can just rename any other file to be called acmesetup.msi, it must also match a digital signature (specific vendor).
You can also use a checksum. Checksum is bulletproof, because only one file in the world can match the checksum. The drawback is that a checksum would be version dependent. Let’s say your company uses TeamViewer and you pre-approve the TeamViewer setup file, then you have to add another checksum every time there is an update. In this case, it would make more sense to generally pre-approve any files from the vendor (digital certificate of file) “TeamViewer Gmbh”.
The video below goes through the process of pre-approving everything from a specific vendor:
Network share pre-approval
Some companies practice that the IT department approves software and puts install files on a read-only network share, where users can install from. You can make a general pre-approval on a network location, so any file located here is pre-approved. You can also point to a vendor (digital certificate) and say that any file from this vendor, say “Microsoft Corporation” or “Adobe Inc.”, is good and is pre-approved.
The video below goes through a scenario where both Run As Admin and Admin Sessions are disabled – but users are allowed to self-install files from a network share of install files sanctioned by IT, without users having admin rights:
Voiding Auditlog logging
If you look at the screenshot for adding a new entry above, there is an on/off toggle “Log to Auditlog”. Since you know these applications or installers are good, it would typically not make sense to fill your auditlog with these trivial entries. You can decide per pre-approved application, if you want the application or install file to log to the auditlog.
Even if you do not use approval at all, you can still add entries for the sole purpose of getting them excluded in the Auditlog.
PIN Code
If Run As Admin or Admin Session is not allowed and the user is shown an access denied message, it is possible to use a PIN code. The PIN code option is also shown, when a computer is totally offline (no internet connection) and approval is required. The PIN code can be found in the inventory for the given computer and can overrule the settings. A scenario could be when a Help Desk employee is doing a remote control of a user’s computer and needs to perform the operation without logging off and on.
The feature is explained further on page Admin By Request > Product Overview (PIN Code section).
Approving a request
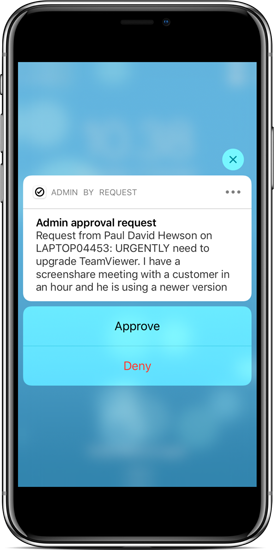
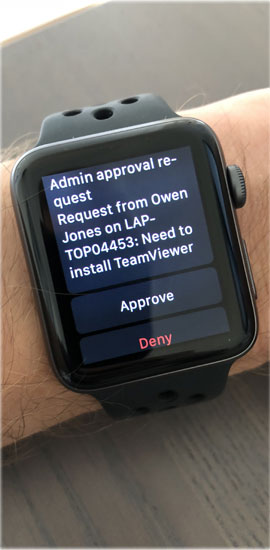
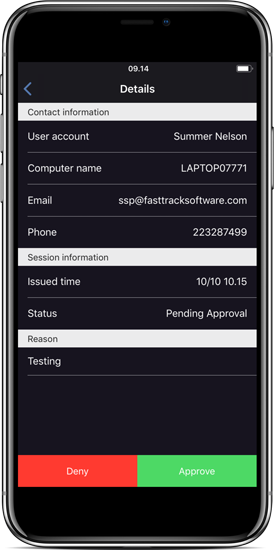
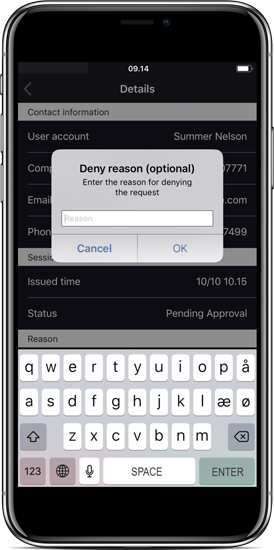
When approval is required, the request is pushed to the mobile app in real-time. An administrator can then press either Approve or Deny without unlocking the phone or click the notification message for more information. The mobile app is explained in greater detail on page Mobile Application.
What you see on your phone:
|
1 |
2 |
3 |
4 |
|
|
|
|
|
The same requests appear in the portal under “Requests”:

If you are not using the app, you can set up an email notification to administrators in the Authorization section of your portal settings to be notified of new entries in the requests list.
